
 |
 |
 |
 |
 |
 |
 |
 |
 |
|
|
#61 |
|
Ride Like an Asshole
Join Date: Feb 2008
Moto: nothing...
Posts: 11,254
|
Be honest GM... sometimes you just put shit on that lift, just for the sake of putting shit on the lift. I'm jealous.
|
|
|

|
|
|
#62 |
|
Trip's Assistant
 Join Date: Feb 2008
Location: Imported from Detroit
Moto: 2009 HD Street Classic
Posts: 12,149
|
Shit... its just a huge ass work bench when there isn't a bike on it. Plus if you look at the garage with the 2-3 bikes on the rst of the floor there isn't much more room so yes... everything goes on the lift.
|
|
|

|
|
|
#63 |
|
Trip's Assistant
 Join Date: Feb 2008
Location: Imported from Detroit
Moto: 2009 HD Street Classic
Posts: 12,149
|
Had Sgt's Honda Shadow back up on the lift. Needed the anti-freeze changed out, clutch adjusted, and new motor oil. Nothing too bad.
Strip it down... 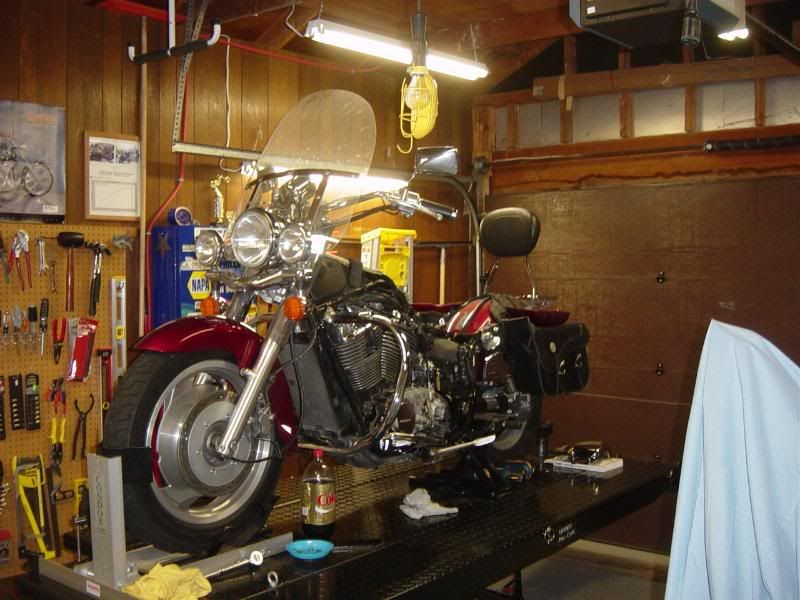 Pull the side cover to full clutch adjustment 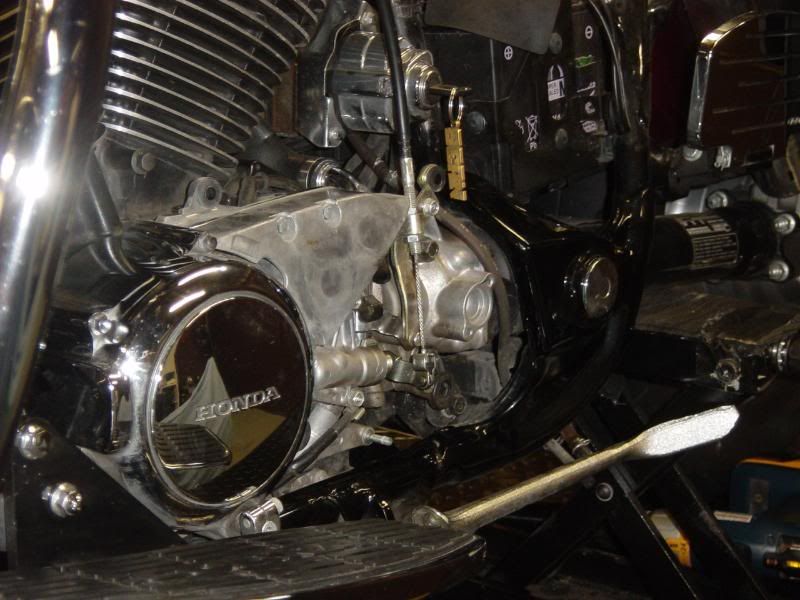 Drained the anti-freeze, flushed it all out with distilled water (twice), letting it cool down each time before refilling. Then put in Engine Ice over regular green. Should be a nice improvement. Also, some new Amsoil and a new oil filter. The reason why we had to pull the tank is to get to the damn rad cap!! 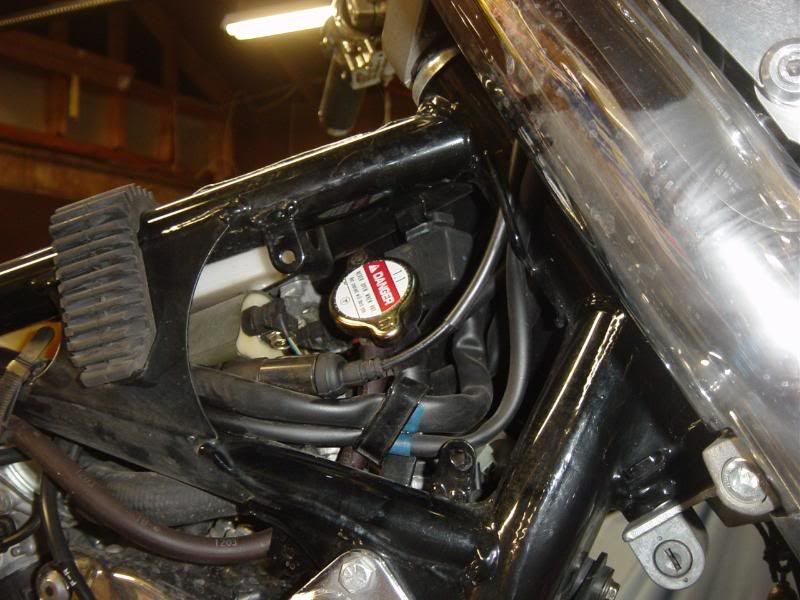 (normally a plastic cover over it that was removed in this pic) Then we found his "rattle" was really his baffle was broken on both mount! But he called V&H and after I sent them the pics they warrentied it and sending replacement. 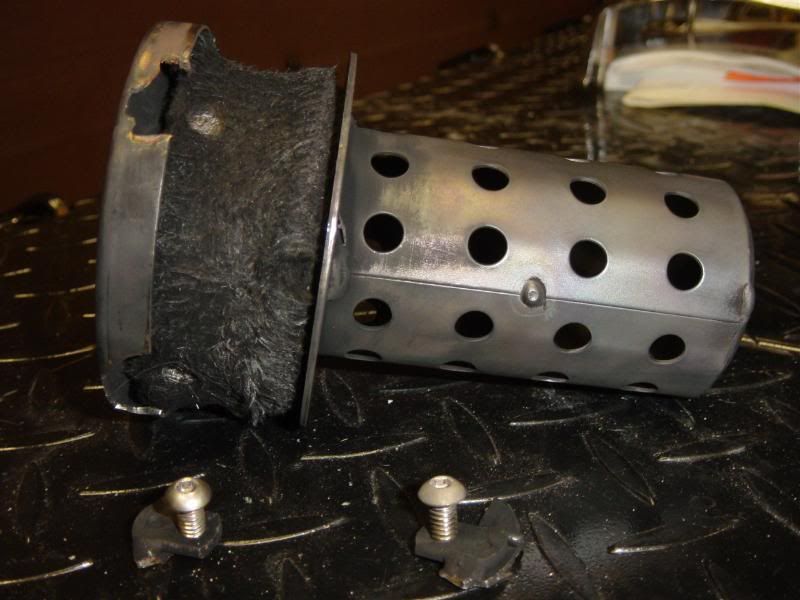 Then while that was on there for a day or so while he picked up his fluids and such... had a buddy come over to do a last min oil change and fix his tranny nut coming loose. 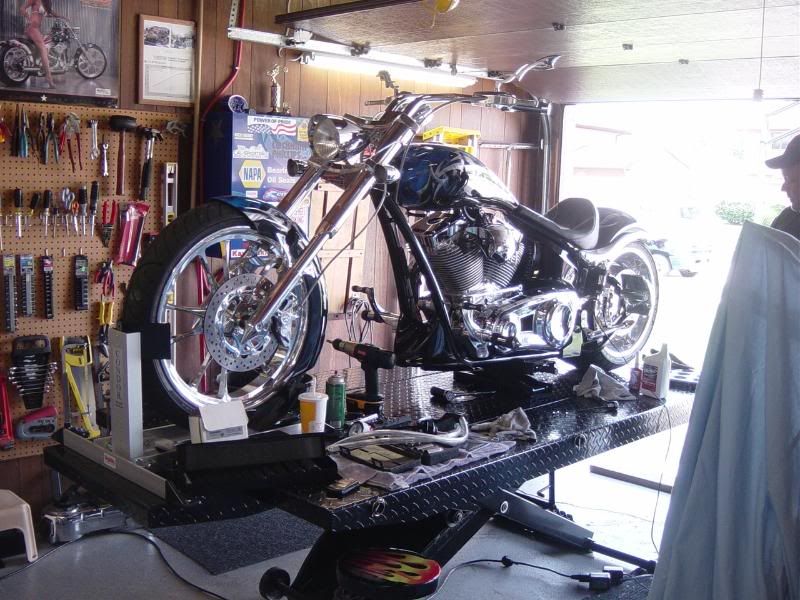 The goods 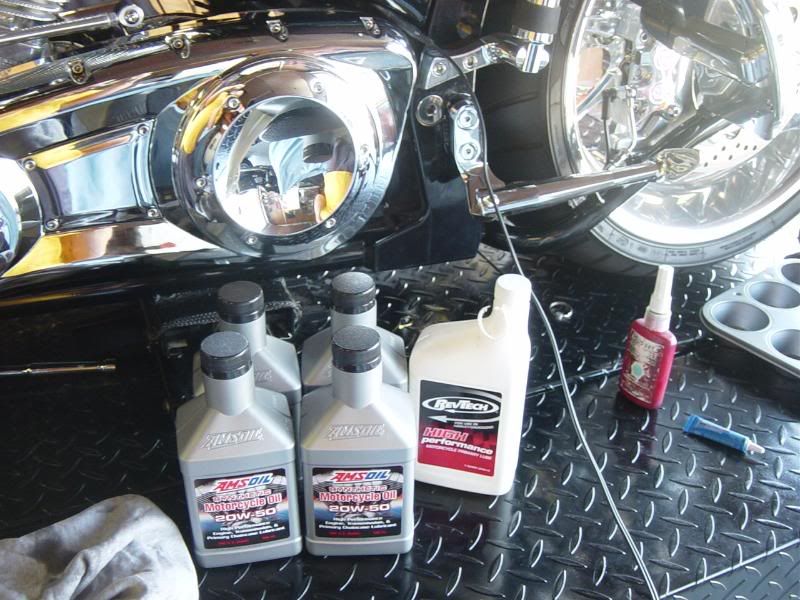 Got to pull the chin spoiler to get at the oil filter and set my special oil filter drain pan in there. Plus he whacked something with it and we needed to "tweak" the bracket back into place. 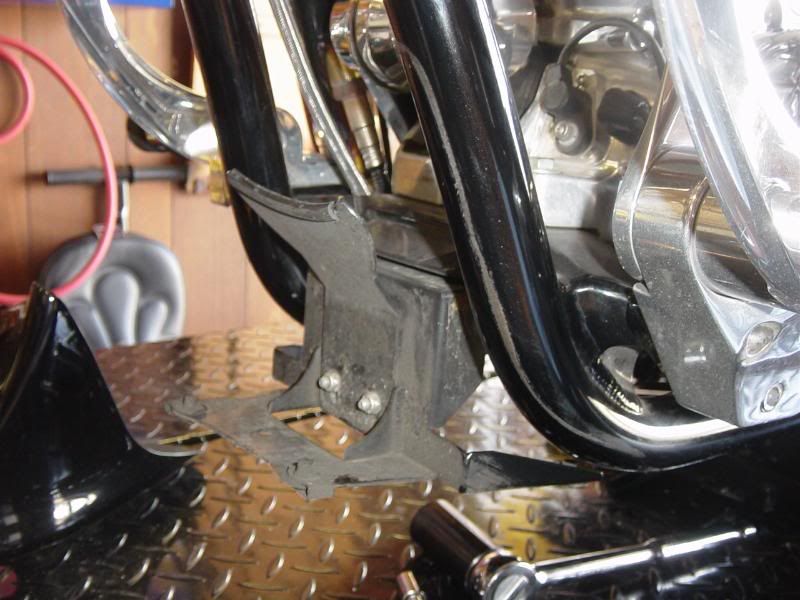 Pulled the outer primary. Yep... that loose tranny nut and therefore the walking clutch basket... yeah... it might make some noise when it does this shit!!!! From the primary chain going by 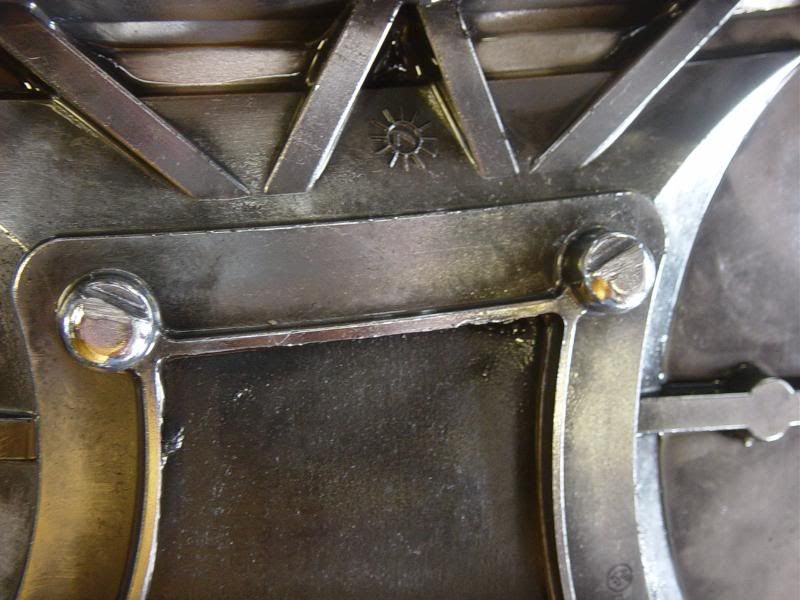 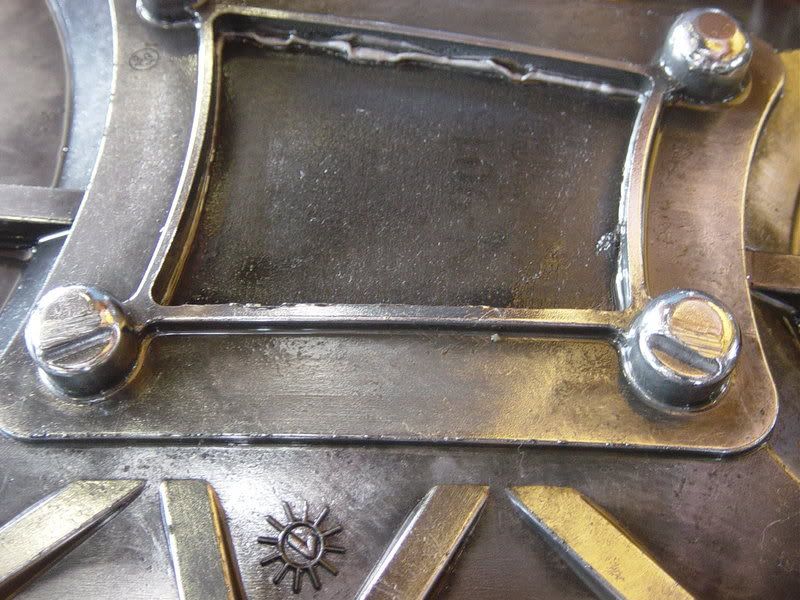 From the diaphram pressure plate bolts 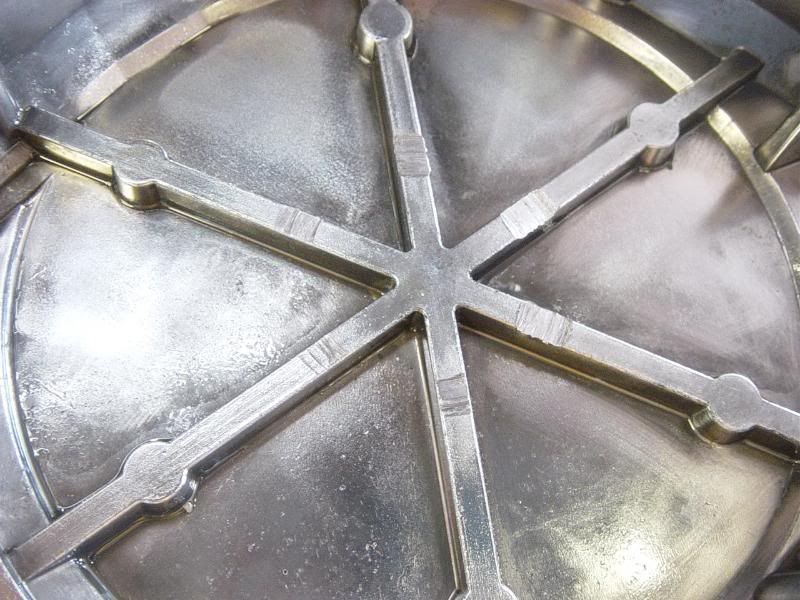 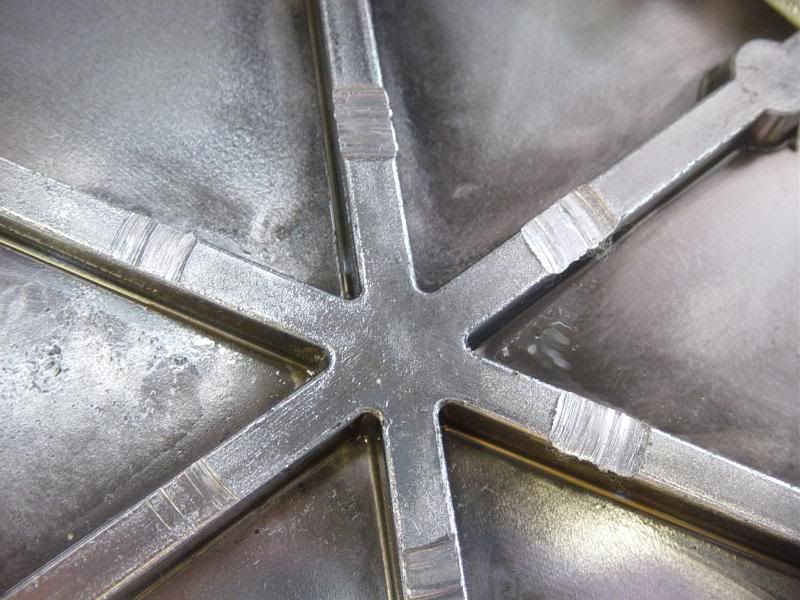 My boy Big House toppin off his primary oil. But you can see what happens when people begin to think you flip a few wrenches... bikes start multipling 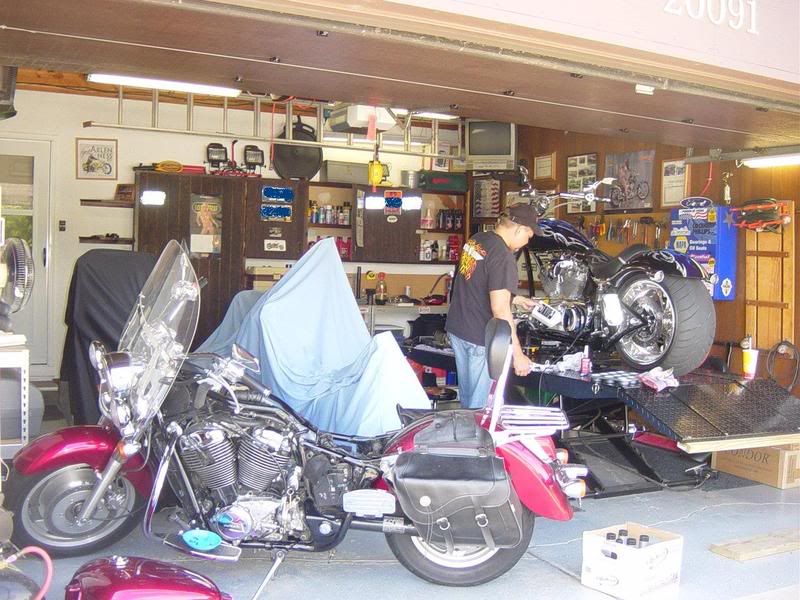
Last edited by Gas Man; 09-24-2008 at 12:38 AM.. |
|
|

|
|
|
#64 |
|
Trip's Assistant
 Join Date: Feb 2008
Location: Imported from Detroit
Moto: 2009 HD Street Classic
Posts: 12,149
|
Had one of my boys T-Mack come over today and Big House to get T's bike serviced. A good, top to bottom service on these bikes takes about 4hrs.
Enter 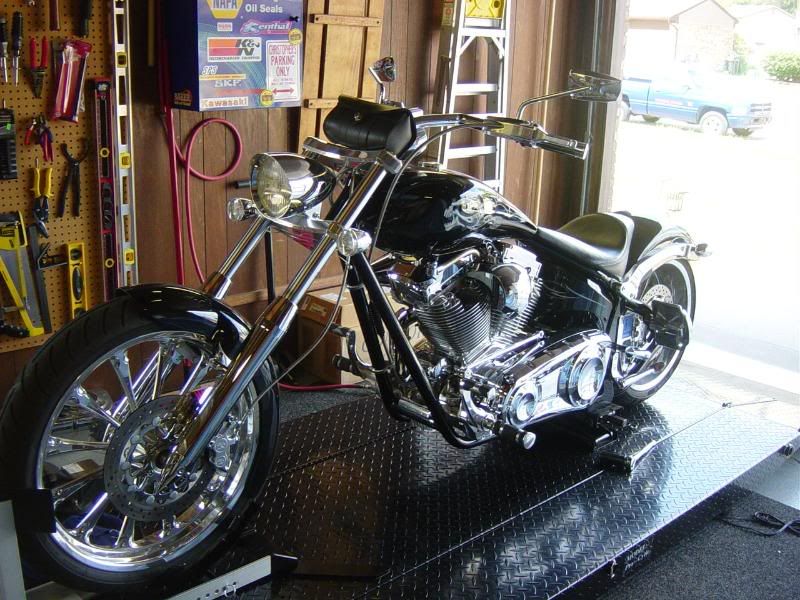 Checking the primary and clutch packs (he just wanted to while we were there) 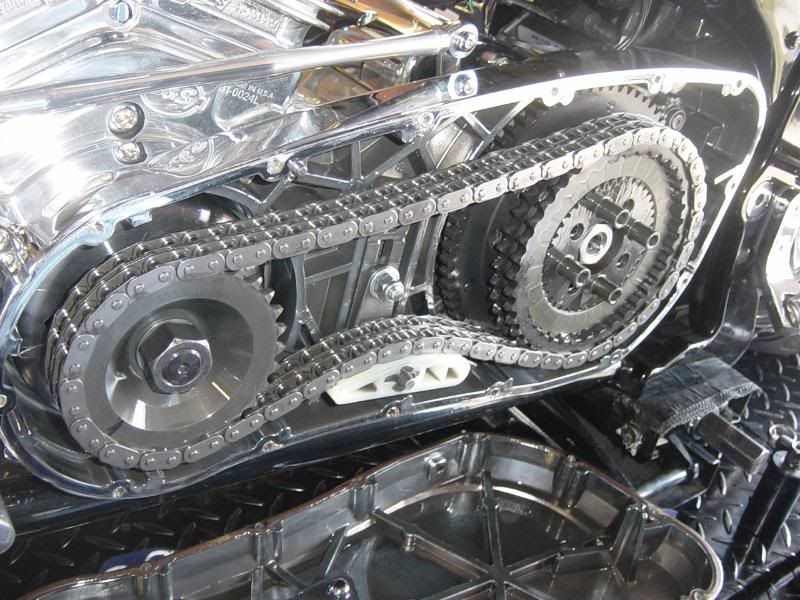 Exit with all new oils. 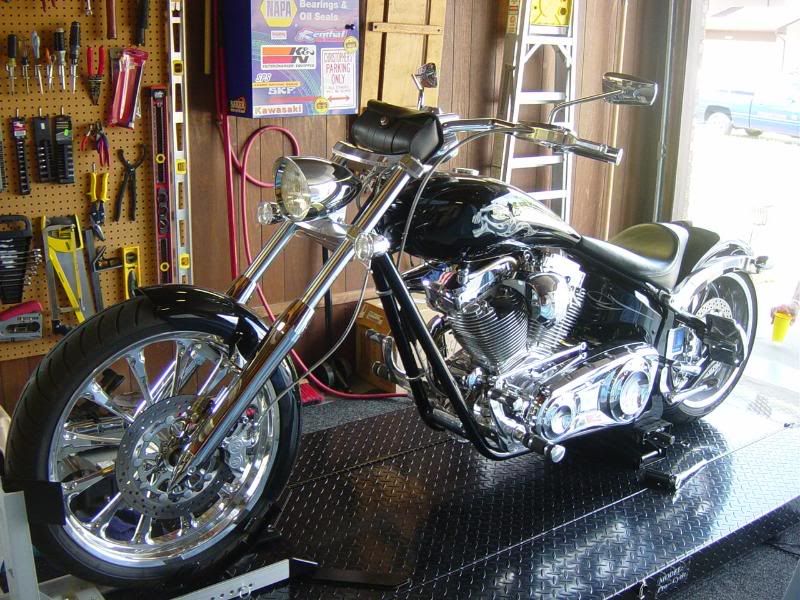
Last edited by Gas Man; 09-24-2008 at 12:39 AM.. |
|
|

|
|
|
#65 |
|
Trip's Assistant
 Join Date: Feb 2008
Location: Imported from Detroit
Moto: 2009 HD Street Classic
Posts: 12,149
|
Ya know... even though that Dave guy is a carrot snapper he's still a good bud. So I'll forgive the carrot offenses and he can get in some lift time.
He shipped me a box of his oils, and other various mods he wanted to get install. He put in some more carrots even after I told him my eye sight was fine... We got the K9 on the lift ready for Sunday's all day wrenchin  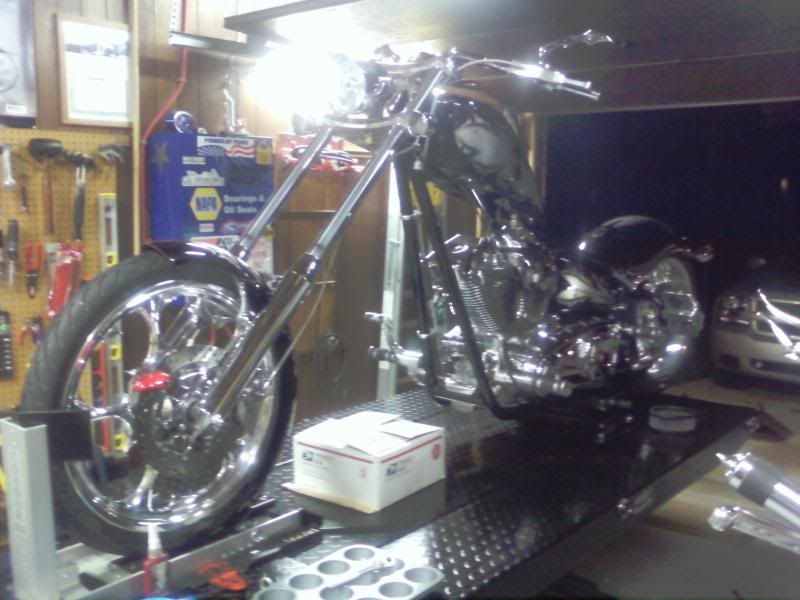 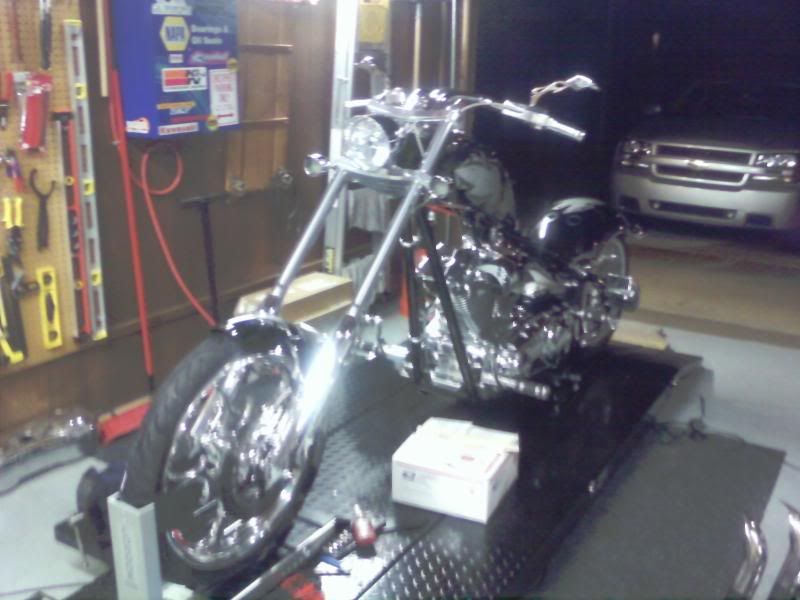 So from the continuation from Sat night we got his K&N cleaned and then re-oiled. 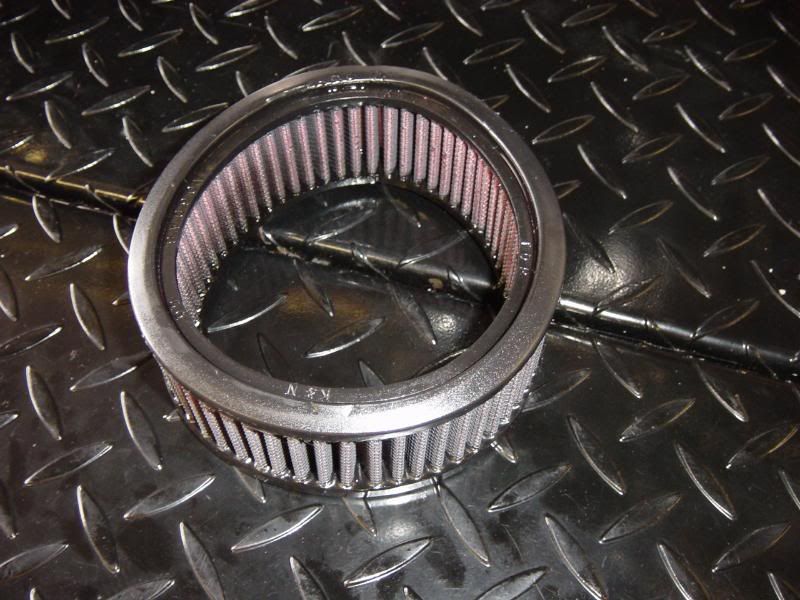 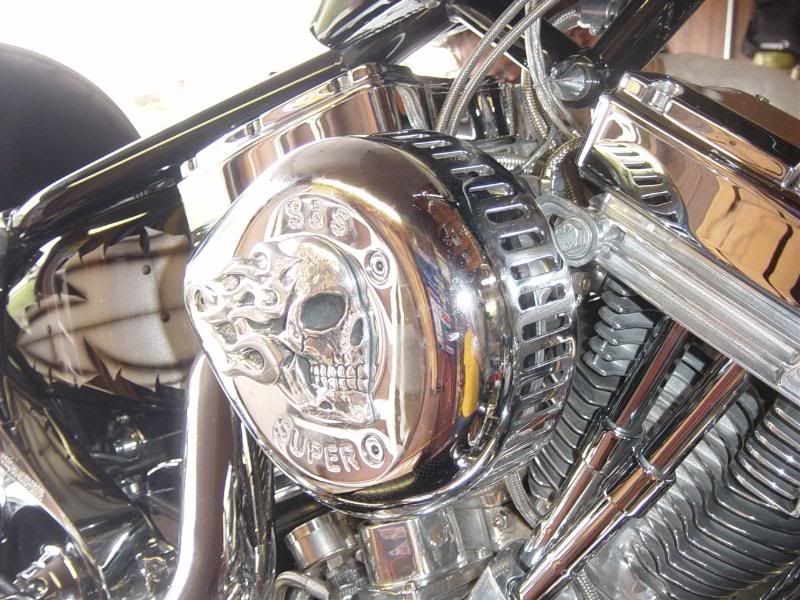 Then we pulled the plugs to drain the oil from the oil bag and primary.., Pulled the inspection cover on the primary... checked the chain and it was good (by feel only thru that stupid small hole). But wanted to double check and make sure sense he has never saw the inside of his primary. Plus check that DREADED tranny input nut. 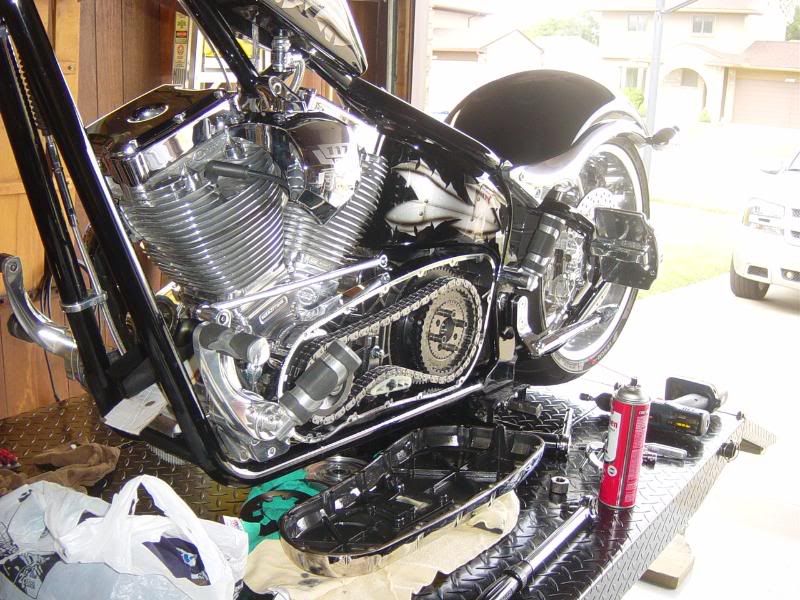 We decide to check the tranny nut, just as I did last weekend on T-Mack's mstiff. Loosen the clutch freeplay, loosen the clutch rod adjustment, pull the diaphram spring.. So I get my 30mm for the nut... the big bar... have dave grab the rear brake... I put the wrench on it... lay my hand on it and it spins... HAND FUCKIN TIGHT!! WTF!!! Another bad dog tranny nut!! 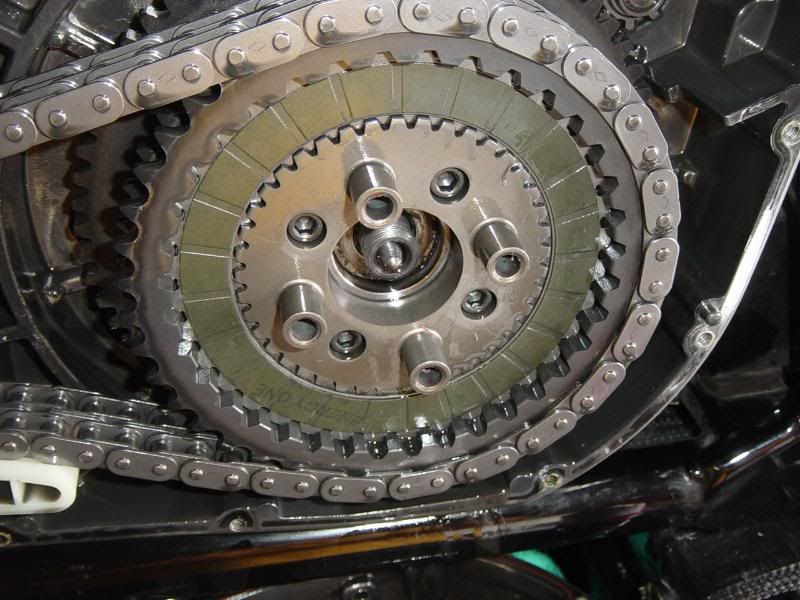 Clean the threads, blow them dry and to remove any debris... red loctite the crap out of the nut... get the torque wrench...grab the rear brake dave... HEEVE N HOE... 100 ft lbs BITCH 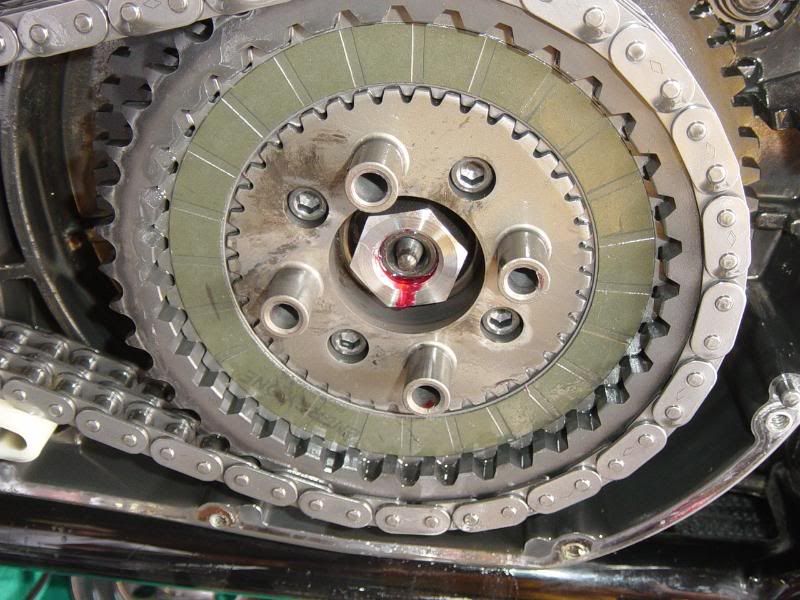 Put it back together, and get ready for some more.. 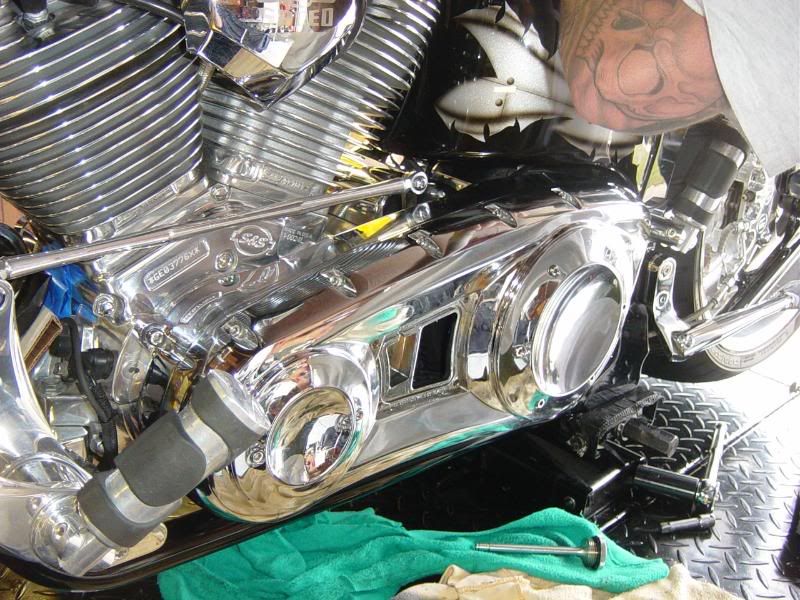 Dave adds the motor oil and primary oil 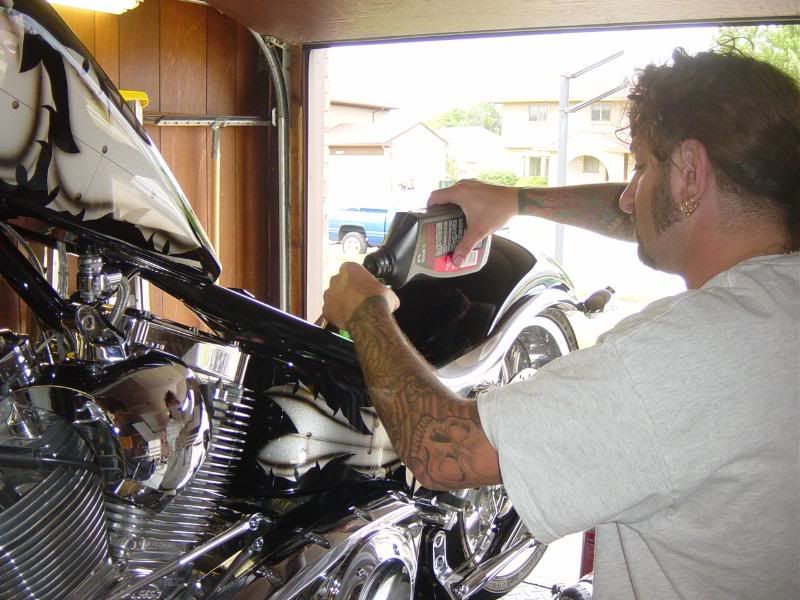 Hook up the scavenger and run out a quart of garbage oil from the oil lines and case 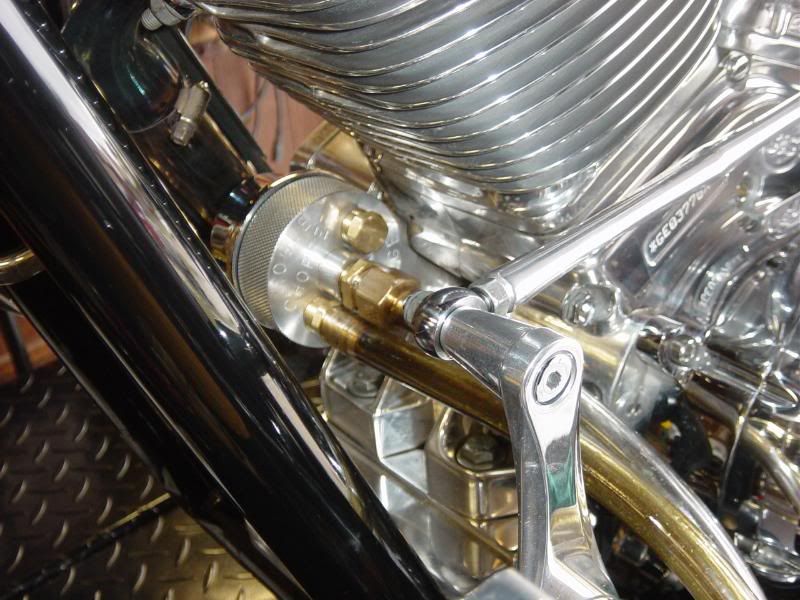 Clean up the K&P filter... 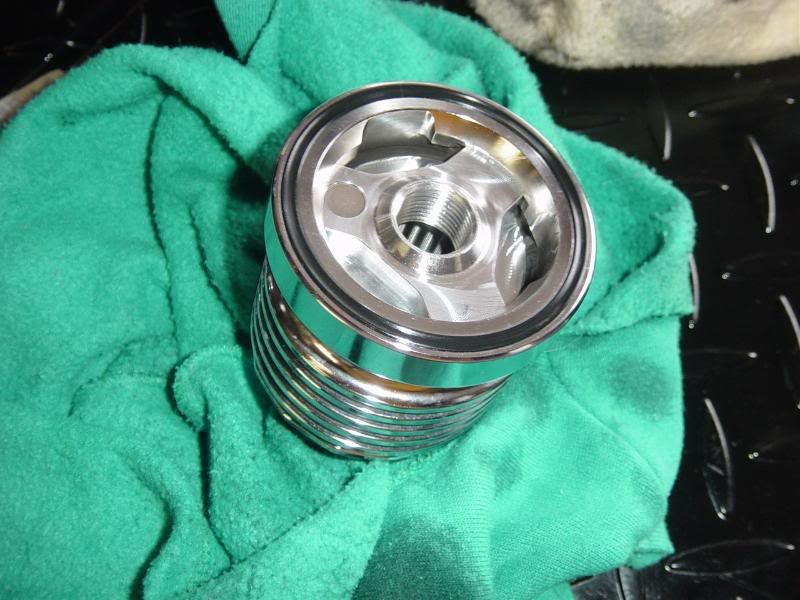 BAM... that service is D.O.N.E. Onwards and upwards... We do my newest mod, which is to double nut the exhaust flange bolts for added security that you won't loose one 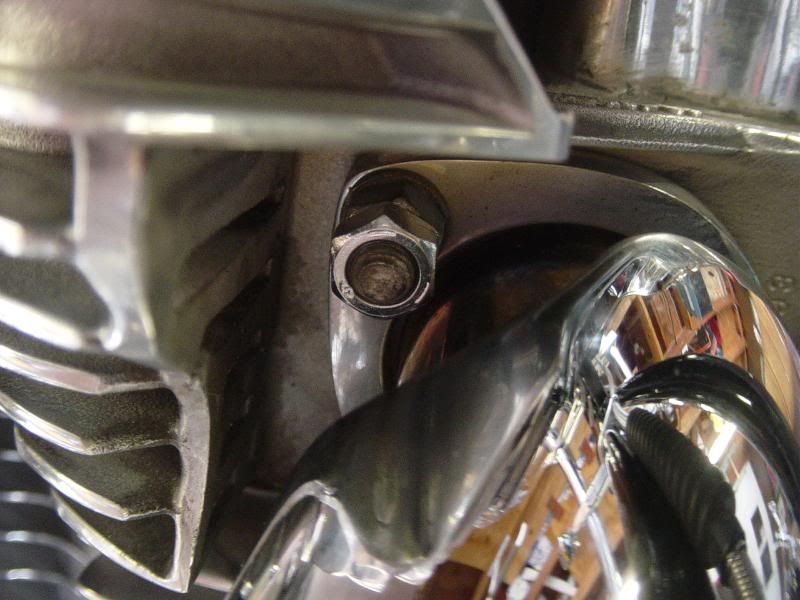 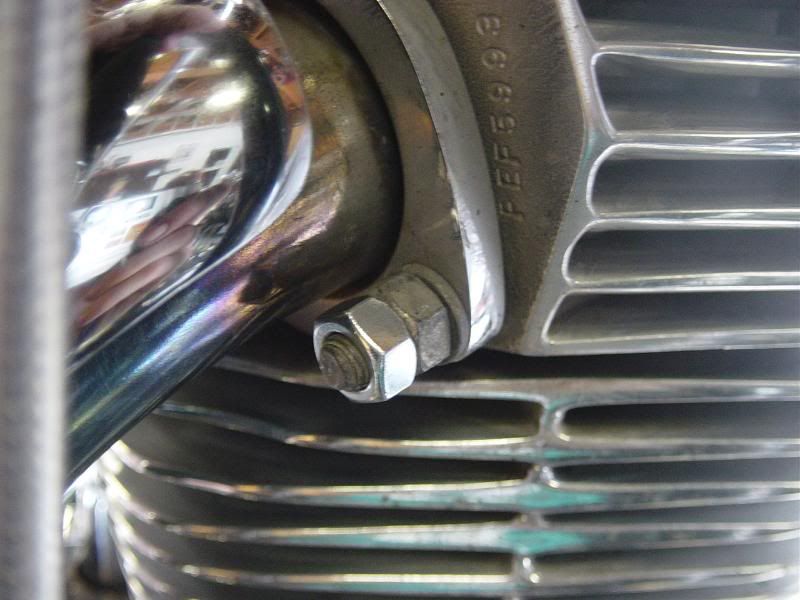 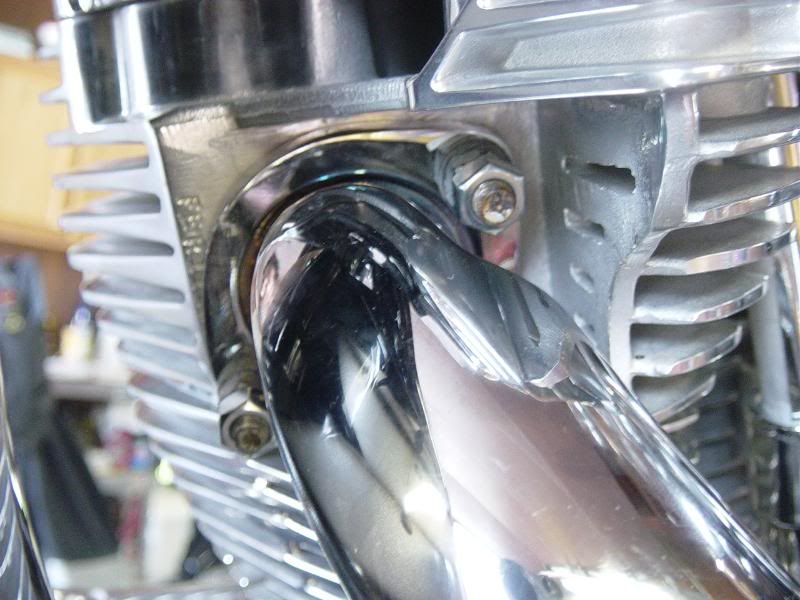 Then I remember that I heard a noise coming from Dave's bike yesterday. It sounded like a loose and rattling exhaust baffle... so I look up... and looksy at what I see 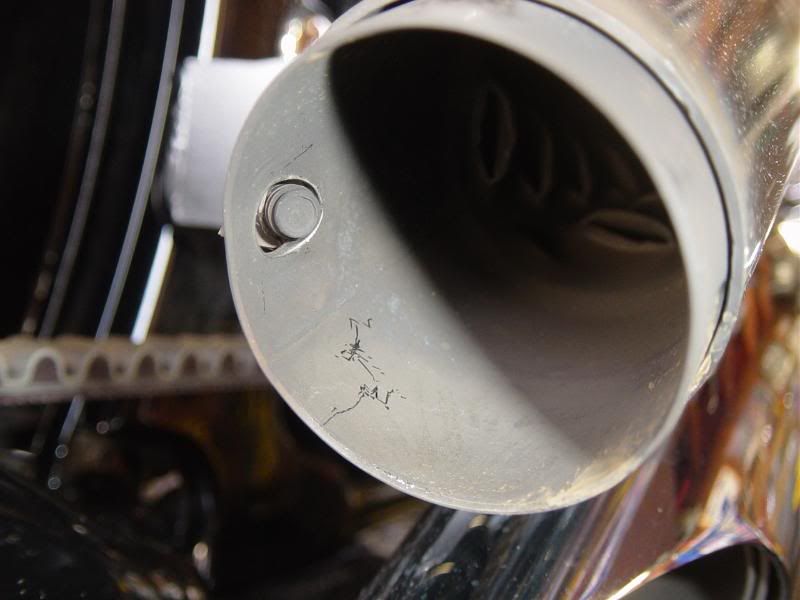 Broken baffle, the only thing holding it in, was what was left of the bolt, and the only thing holding the bolt in was the heat shield keeping it from backing out... Not a bad call by me from just a sound... so we got some new hardware from my parts bin... and new bolt, some washers and a nylon lock nut 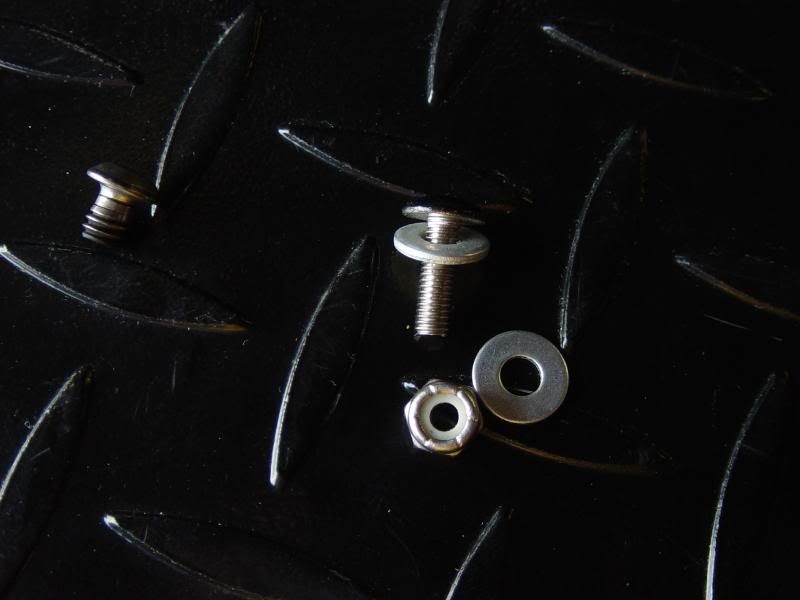 BAM 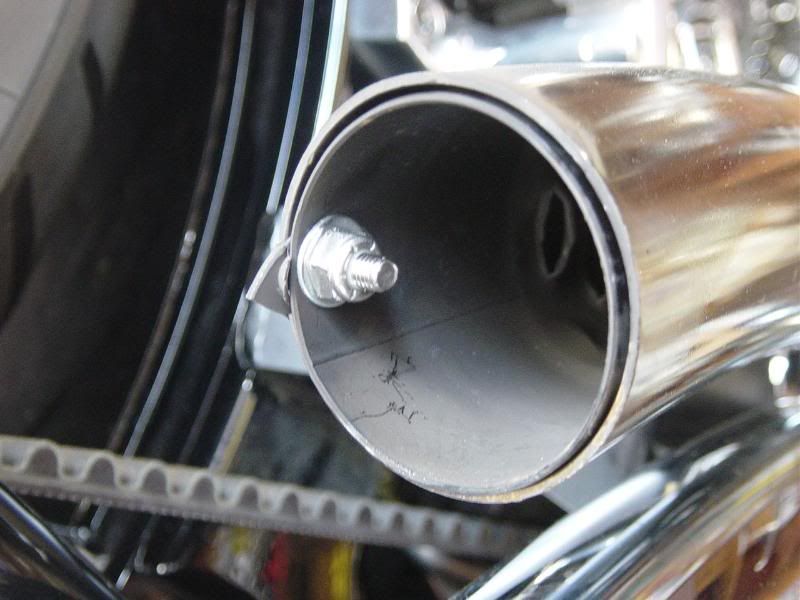 Put the heat shield back on.. 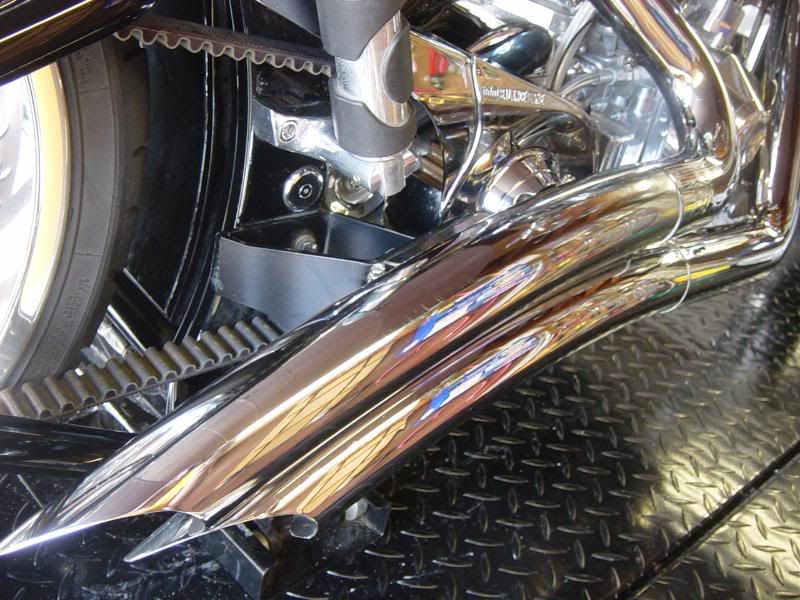
|
|
|

|
|
|
#66 |
|
Trip's Assistant
 Join Date: Feb 2008
Location: Imported from Detroit
Moto: 2009 HD Street Classic
Posts: 12,149
|
More projects...
Waterproofing... Pulled the front LEDs 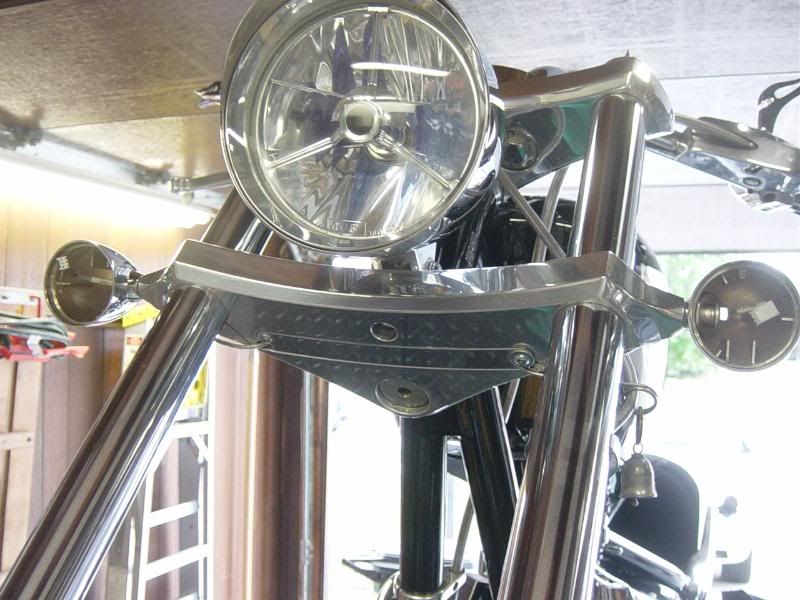 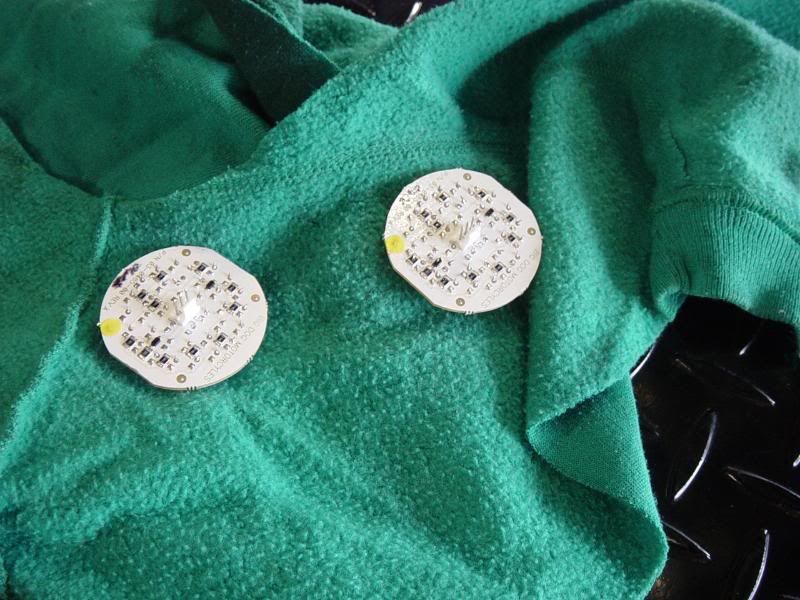 Pulled the plate apart and preped it for waterproofing 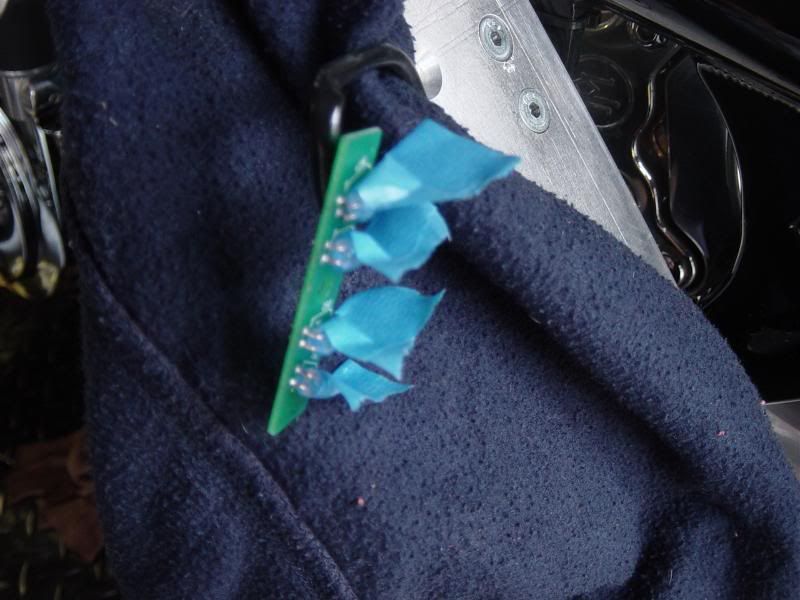 Yanked the rear LEDs 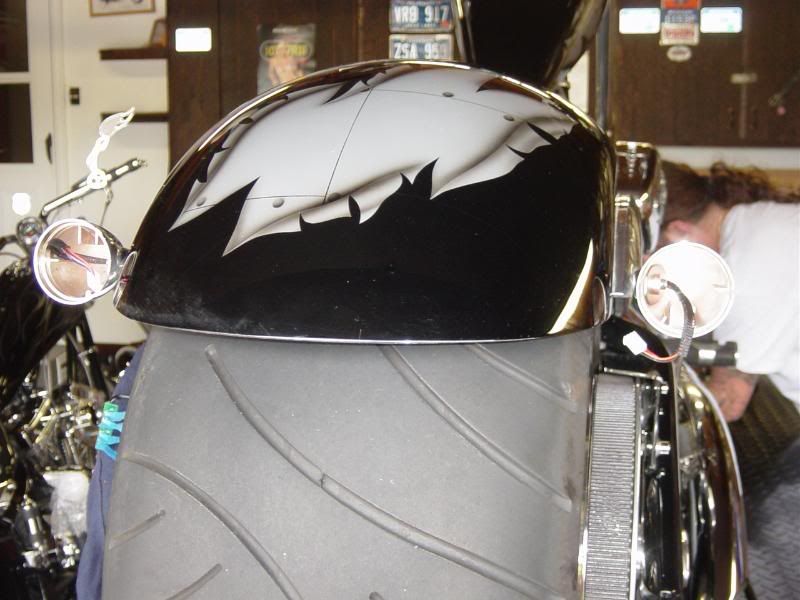 Sprayed them all with the silicone board sealant 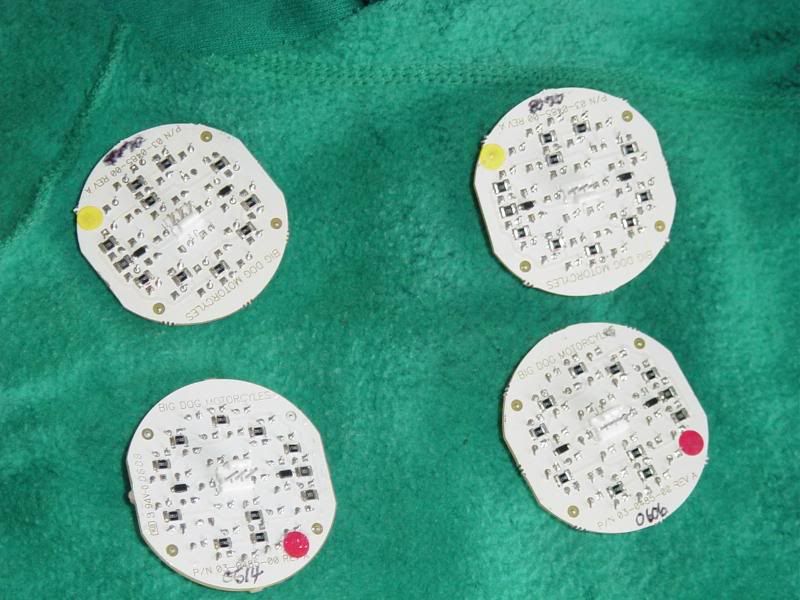 Attacked the plate frame for the vertical flaw. The wire channel can and does collect water. 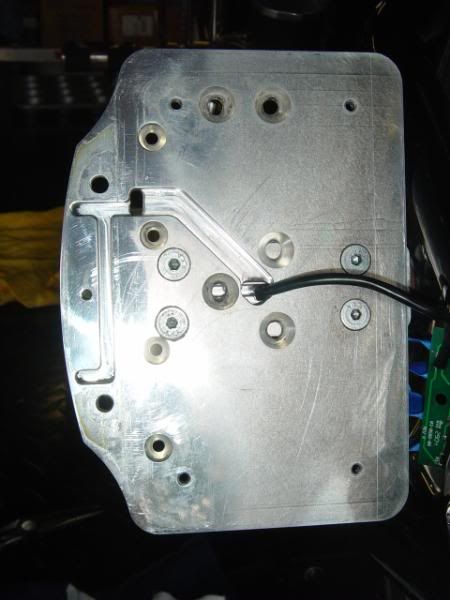 Drill a hole in the bottom of the channel 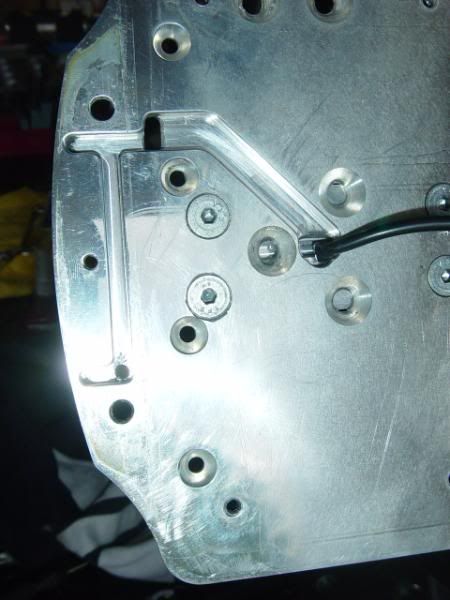 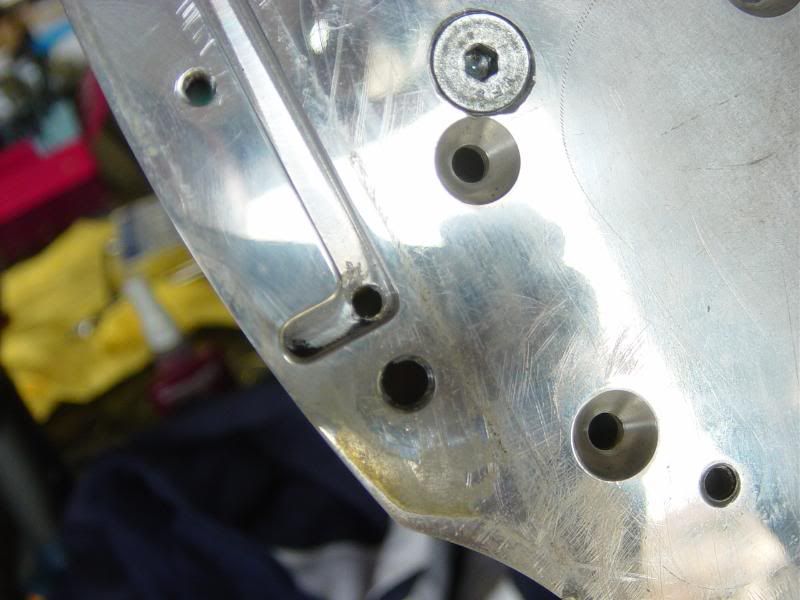 Then sealed the extra/non-used holes in the backing plate with silicone 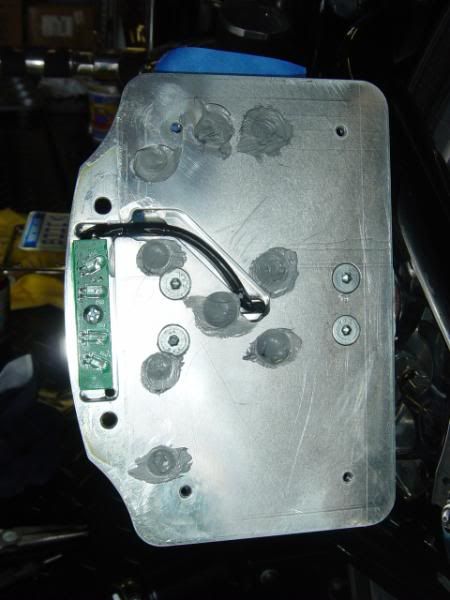 Onward to the connector waterproofing Then we pulled his gas tank... a nice setup these K9's have 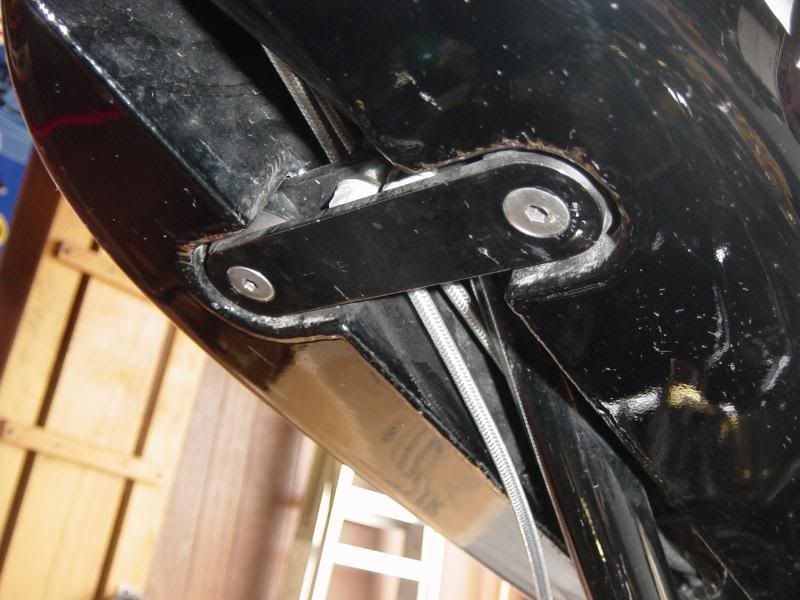 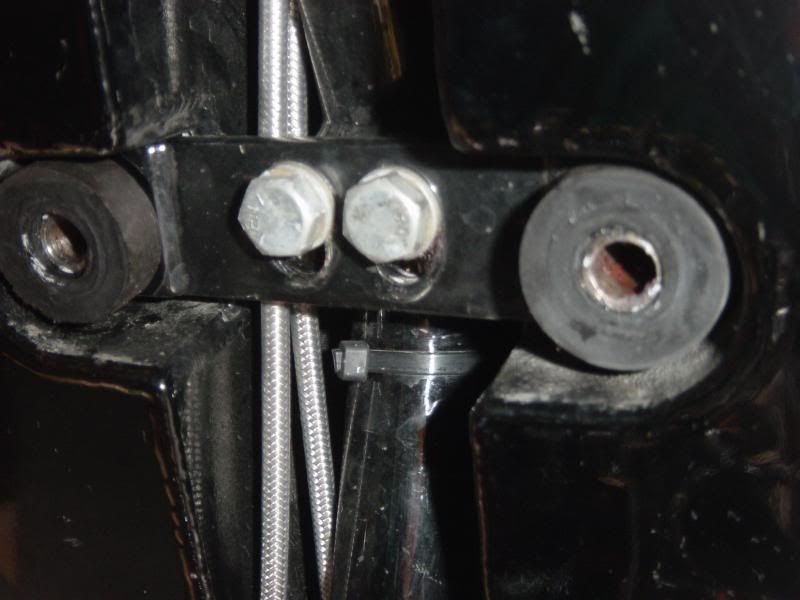 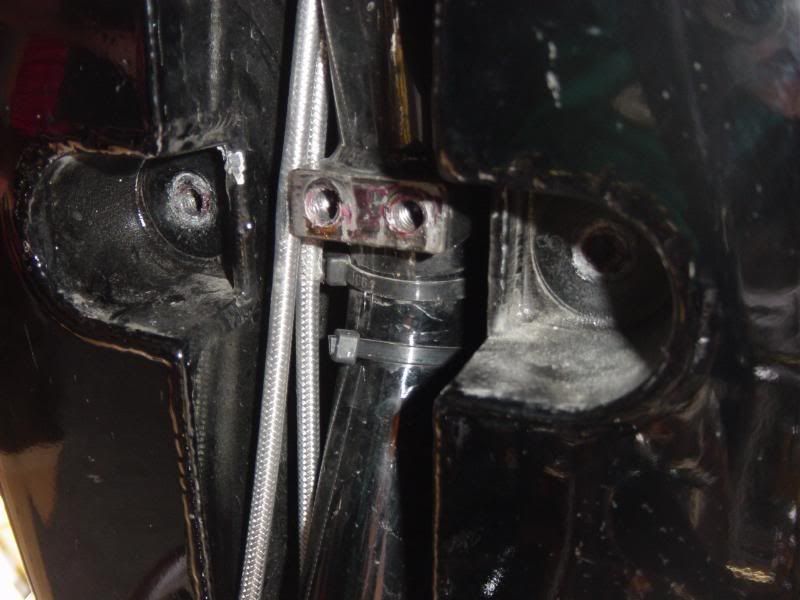 Protect the paint 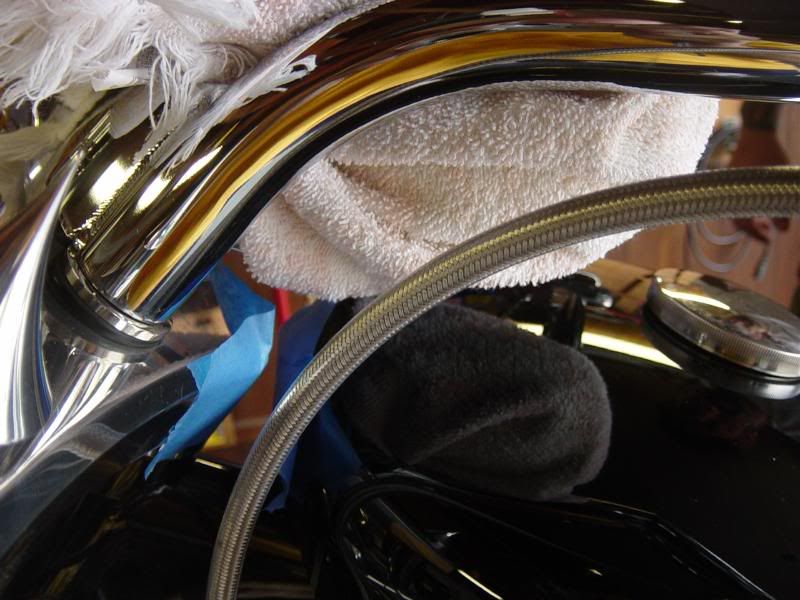 OFF 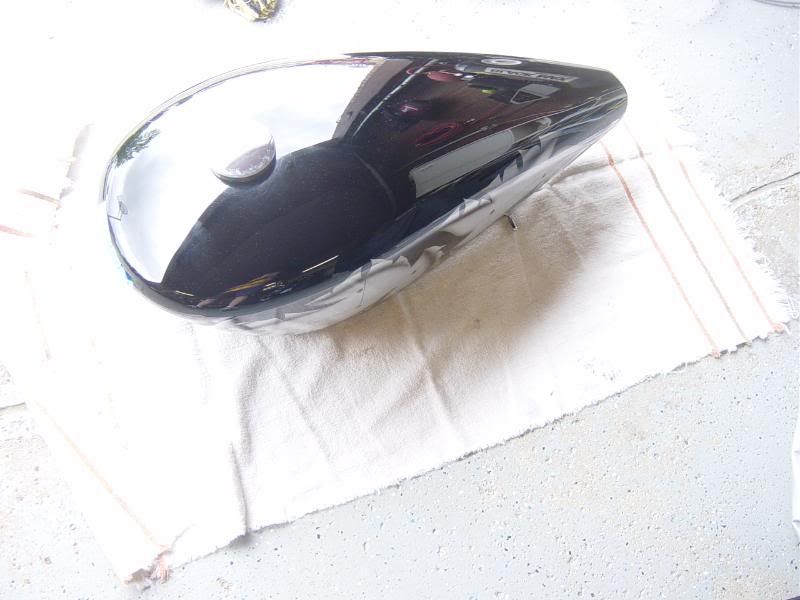 The BDM way 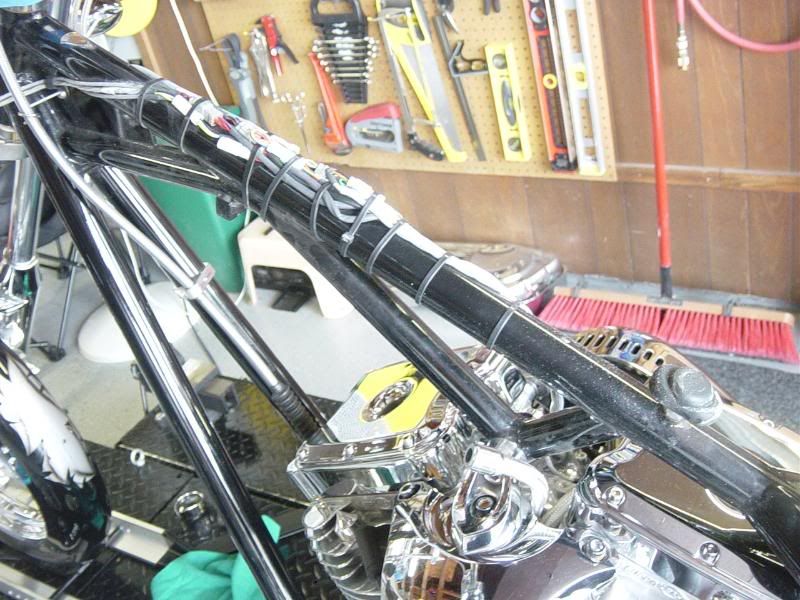 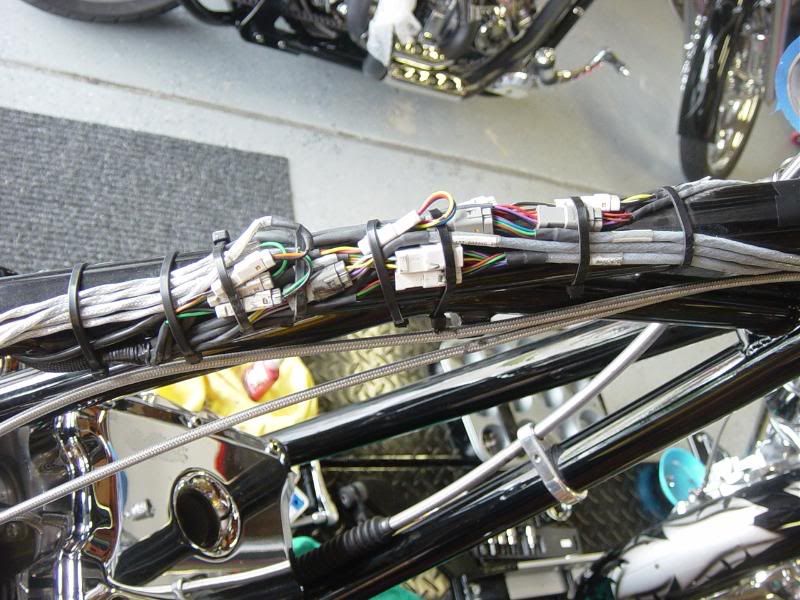 Found some frame damage that the BDM dealer tech had replaced the tank bushings but obviously didn't do anything about this 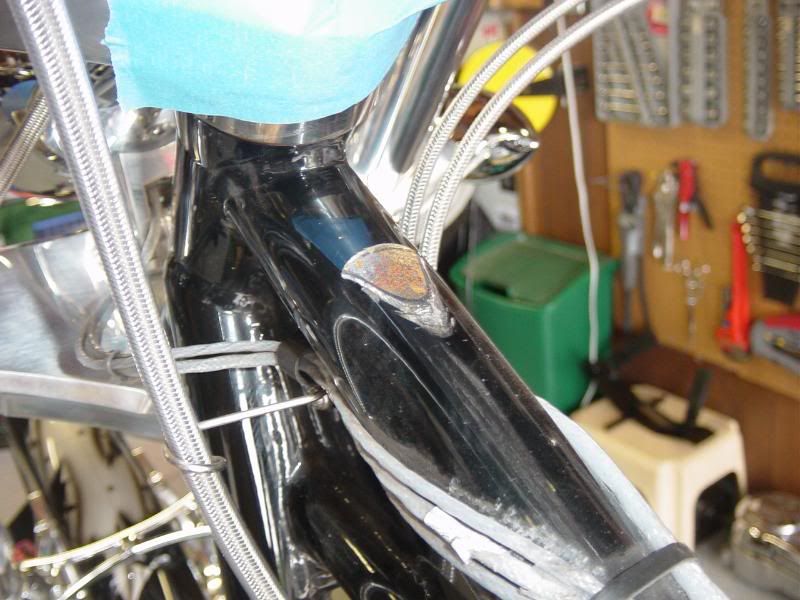 So we covered it and then taped over it... will need to possible paint it the next time we pull the tank. Our waterproofed way 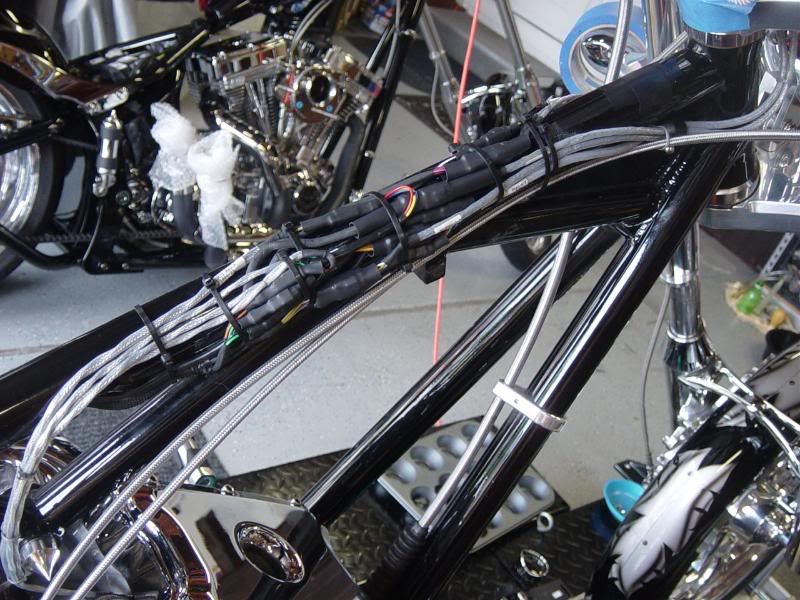 Don't forget some of the hidden ones under the side covers 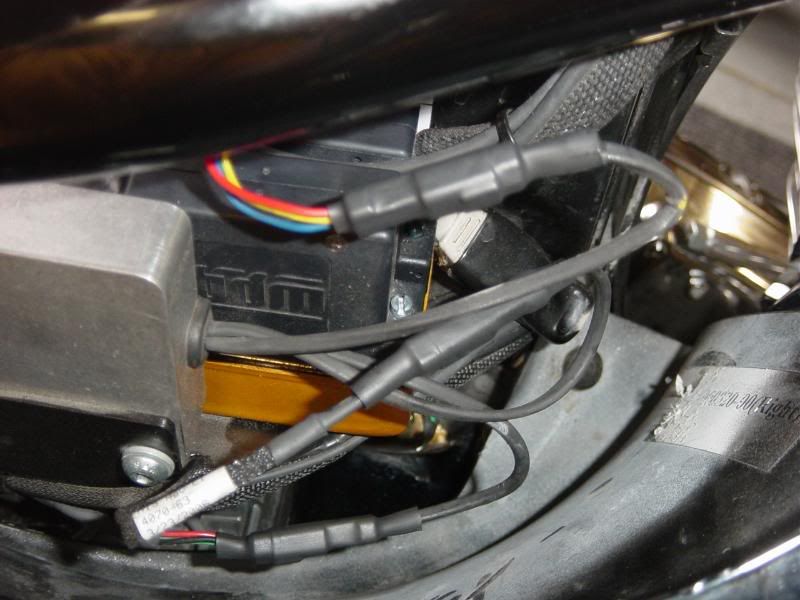
|
|
|

|
|
|
#67 |
|
Trip's Assistant
 Join Date: Feb 2008
Location: Imported from Detroit
Moto: 2009 HD Street Classic
Posts: 12,149
|
Then with the tank off, got ready to install a pingle fuel filter
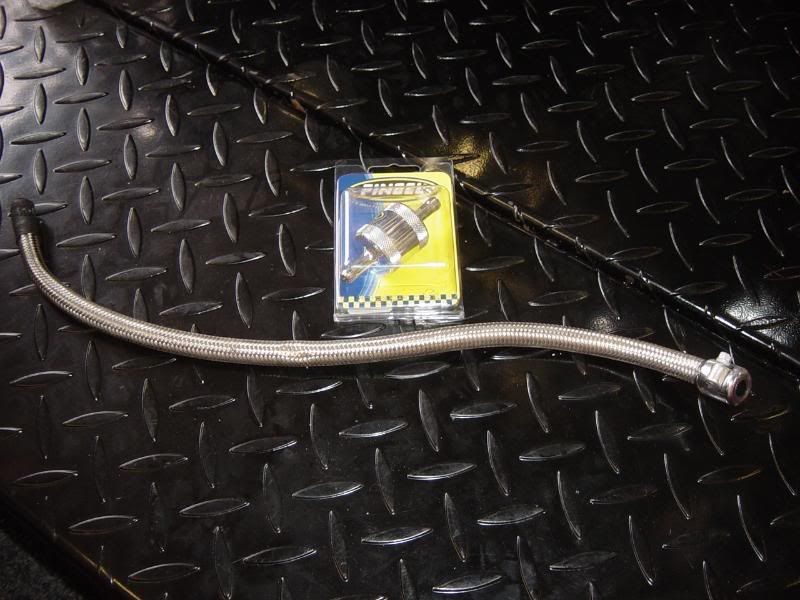 Make the cut, using the dremel to cut the braided and the knife to cut the rubber 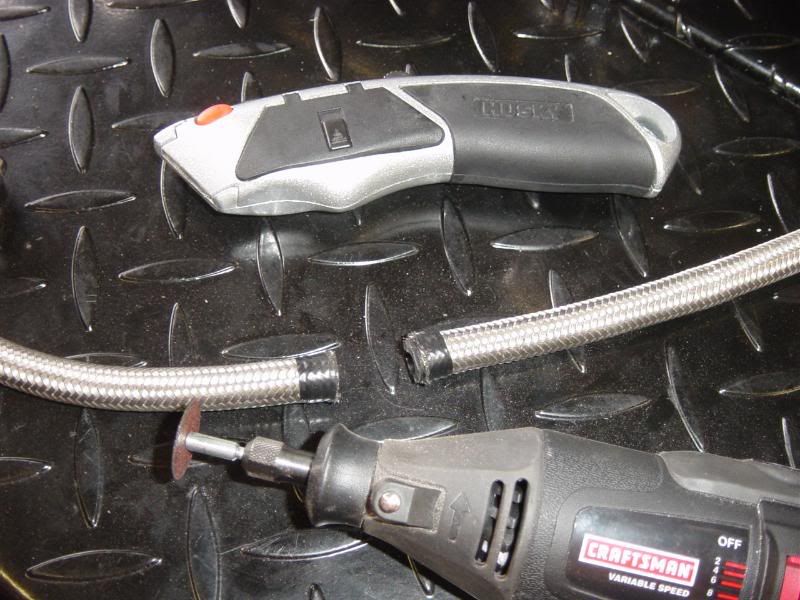 Nice deal 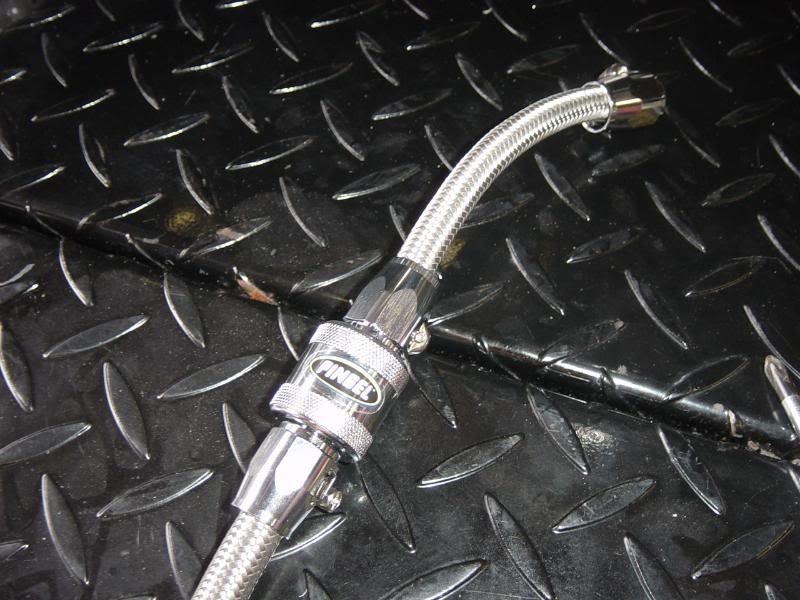 Some BLING BLING courtsey of Low Down Chop Shop 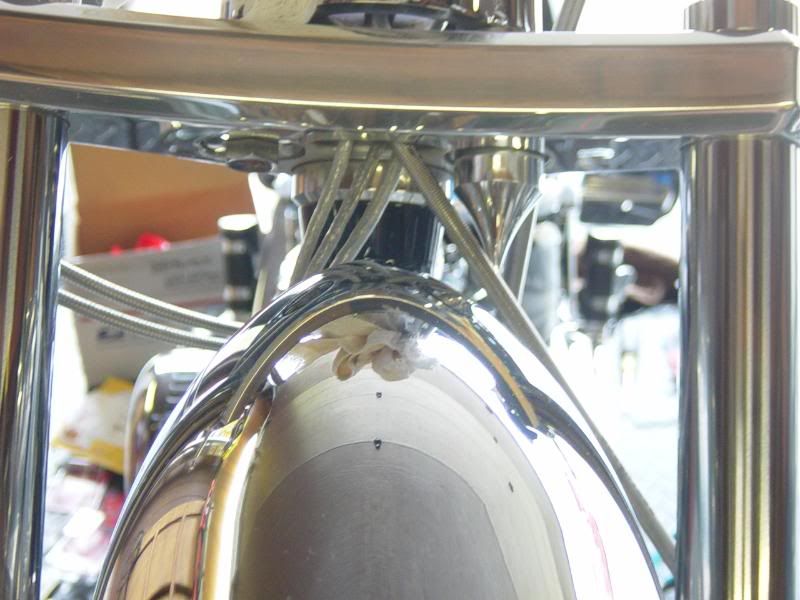 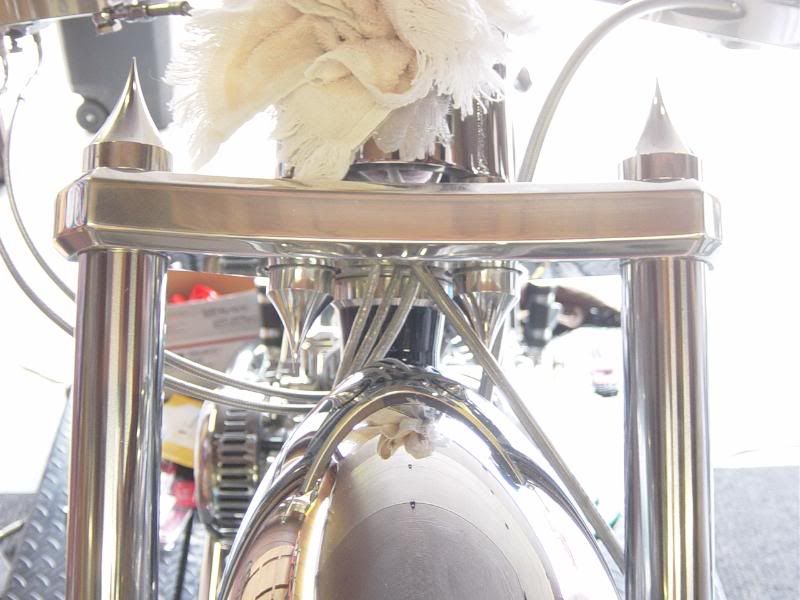 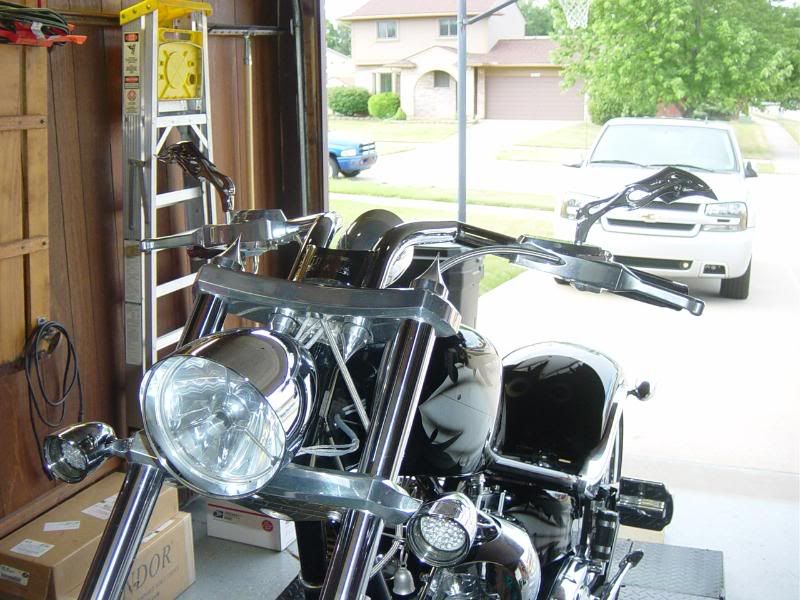 Brinks came out to play... then wifey dropped some food for the boy... dig in! 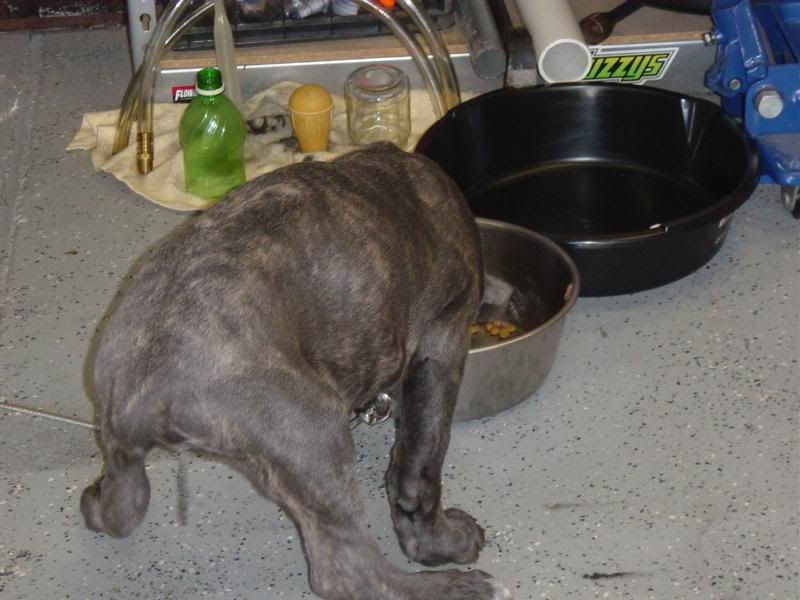 Then we installed his Cruise Mate for some added highway comfort 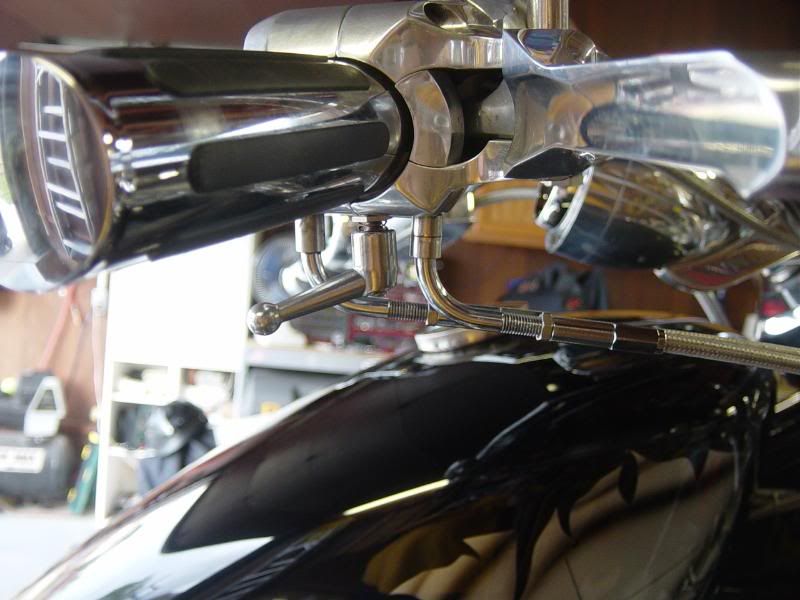 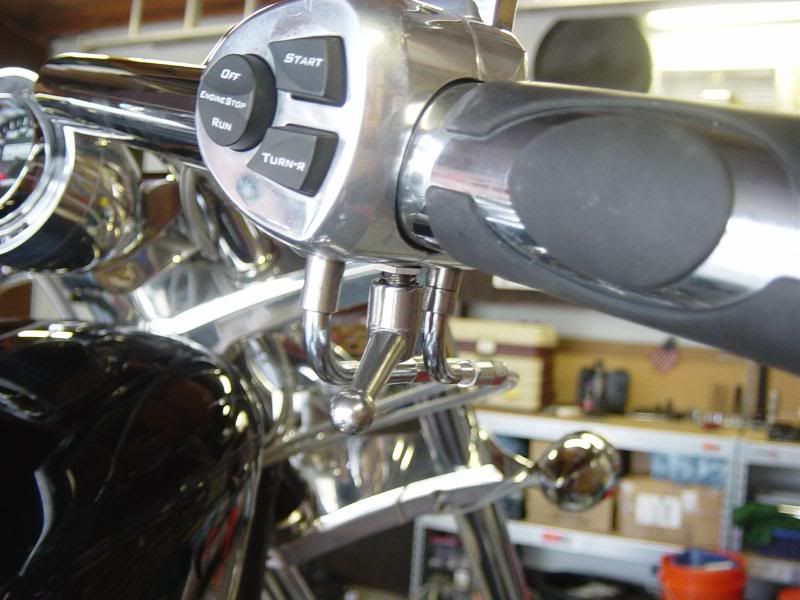 It was cool to be wrenchin all day, riding may be better, but you got to take care of your buds. Looks like neighbor Tom with his Ultra Classic and Seatmaker's Ridgeback are next on the agenda... |
|
|

|
|
|
#68 |
|
RIP REX
 Join Date: Feb 2008
Location: Murfreesboro, TN
Moto: 2008 1125R
Posts: 7,467
|
did i mention i cringe anytime i open a thread by you, bejeabus
|
|
|

|
|
|
#69 |
|
Trip's Assistant
 Join Date: Feb 2008
Location: Imported from Detroit
Moto: 2009 HD Street Classic
Posts: 12,149
|
Yeah I's gots lots o pics!!!!
But it sure comes in handy when telling other big dog owners how to fix something online!!! |
|
|

|
|
|
#70 |
|
Trip's Assistant
 Join Date: Feb 2008
Location: Imported from Detroit
Moto: 2009 HD Street Classic
Posts: 12,149
|
Well neighbor came over today with his black cherry pearl 2002 HD Ultra Classic.
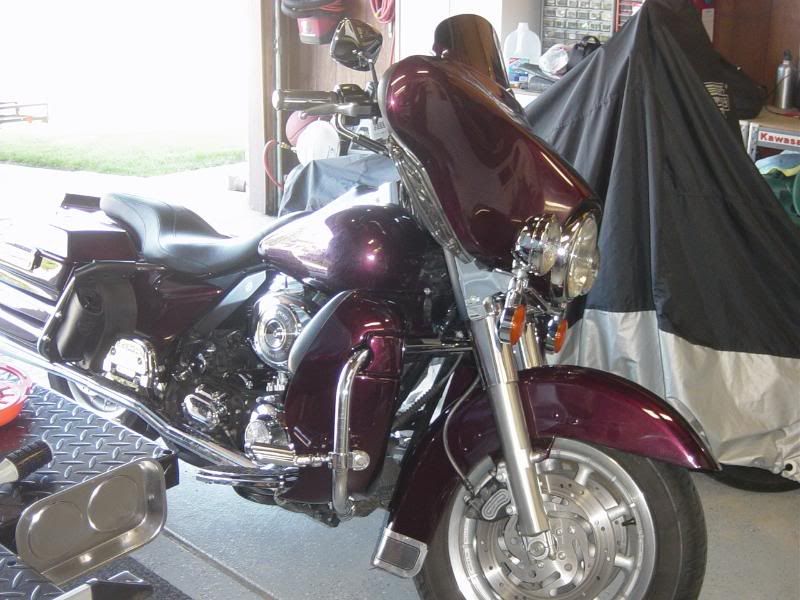 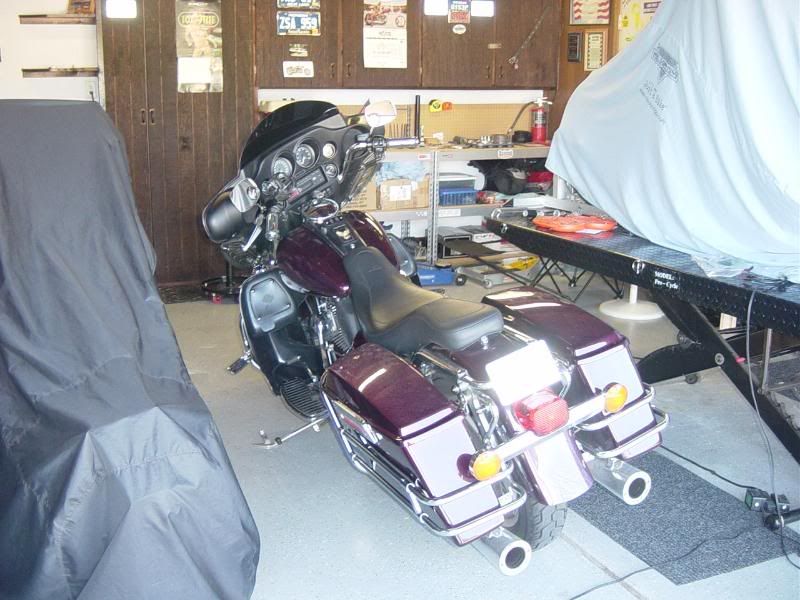 He just got the paint job done... to include this sweet subtle airbrushing 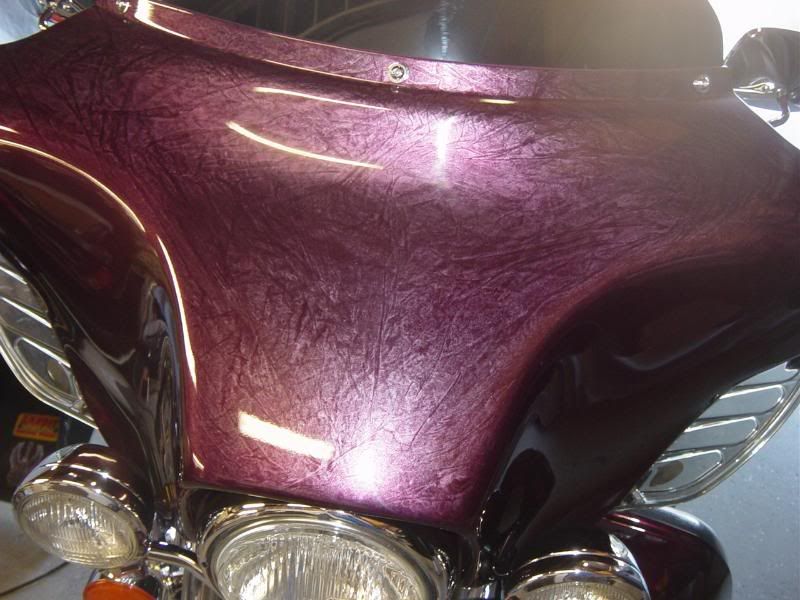 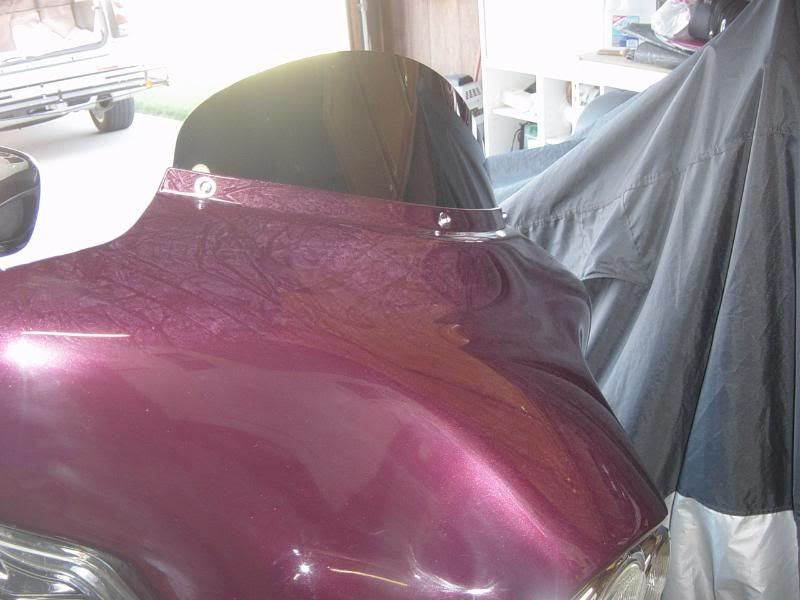 But to install this nice LED lighted trim on the front fairing. The universal wiring harness was complicated till I cut it open to aid in figuring it out. 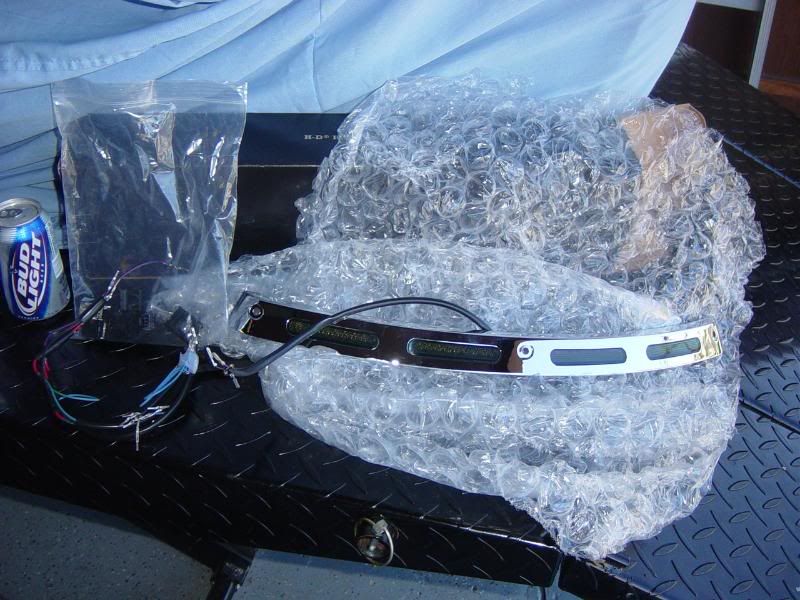 Off with the fairing... 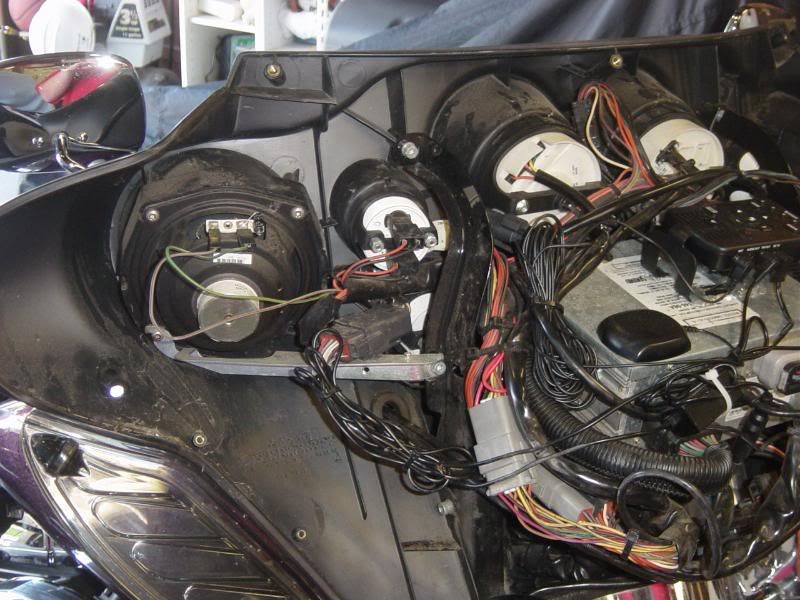 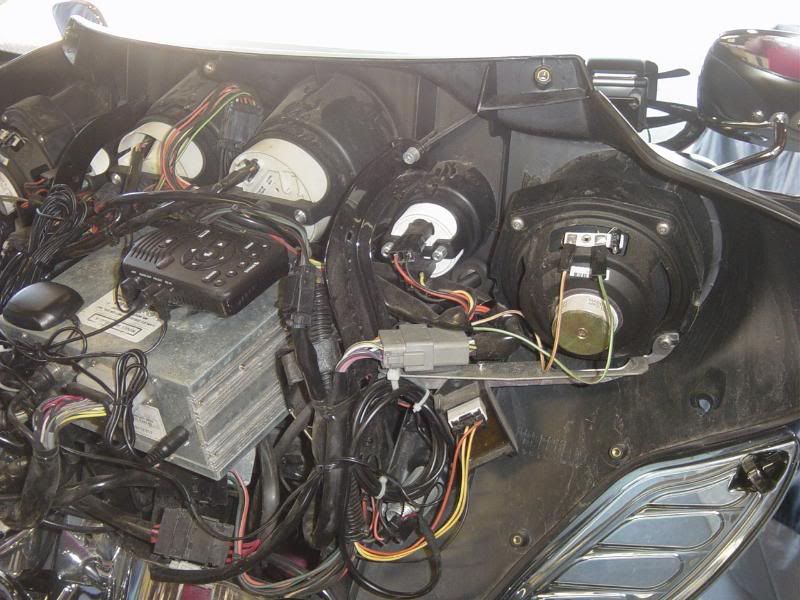 After some time temp wiring it, getting it straightened out, shrink wrap the wiring, then bolted up... 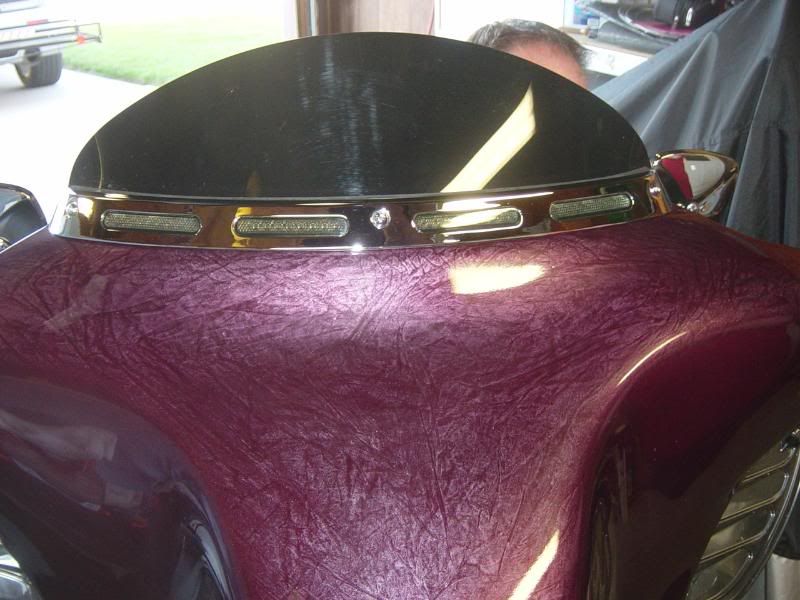 It looks great and really trims out the fairing to windshield area. 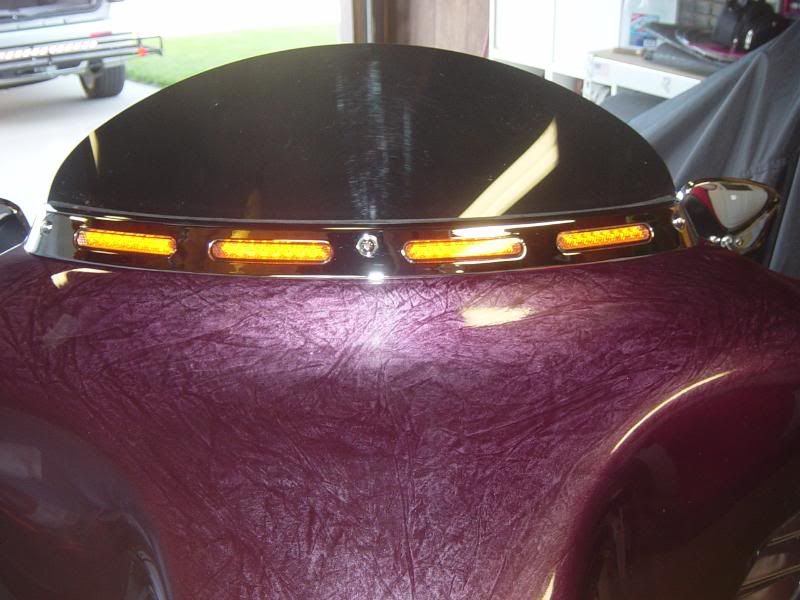 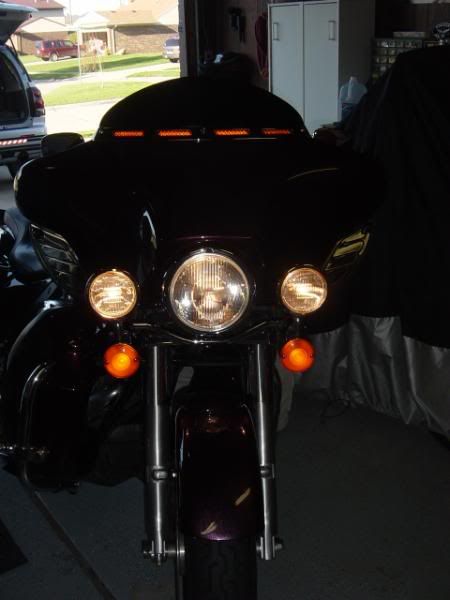 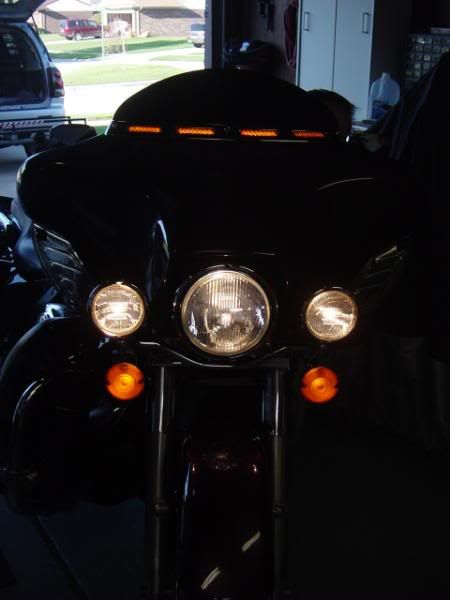 Plus the outer LEDs blink with the turn signals. 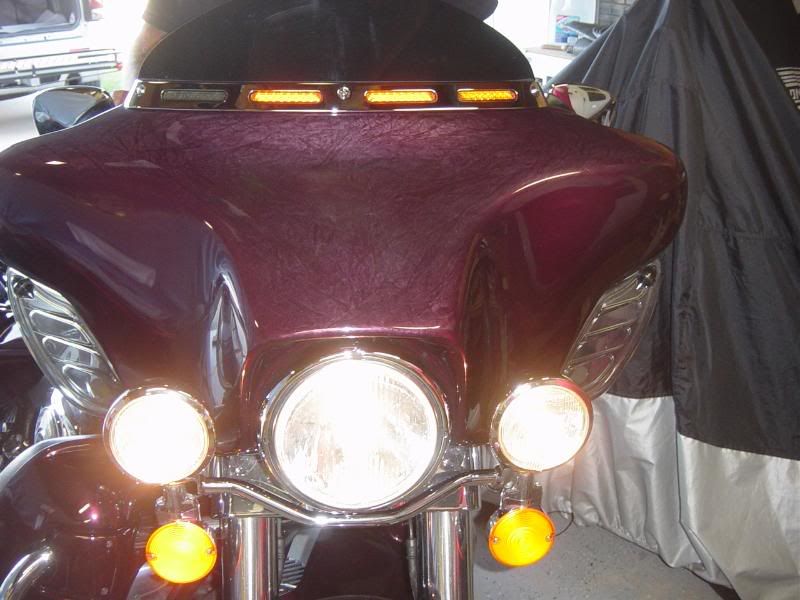 Was easy to do but ensuring the wiring was correcy thru every step made it time consuming... Last edited by Gas Man; 09-18-2008 at 09:56 PM.. |
|
|

|
 |
| Bookmarks |
| Thread Tools | |
| Display Modes | |
|
|