
 |
 |
 |
 |
 |
 |
 |
 |
 |
|
|
#1 | |
|
Trip's Assistant
 Join Date: Feb 2008
Location: Imported from Detroit
Moto: 2009 HD Street Classic
Posts: 12,149
|
Dyna Beads
They are a GREAT GREAT GREAT product. You can install them by just placing the bag contents into the tire when when mounting the tire or as most of us will do, via the valve stem. Most valve stems will allow the beads to just pour in, however some will be more diffcult due to obstructions in the valve stem itself. You can try rotating the tire back and forth 180 degrees to get them to pour in or if you have a metal valve stem as below follow those instructions. A note from Jake, owner of Low Down Chop Shop. Quote:
Many of us have got them and many are probably on the fence. But if you got them, here's how you put them in. Grab your supplies 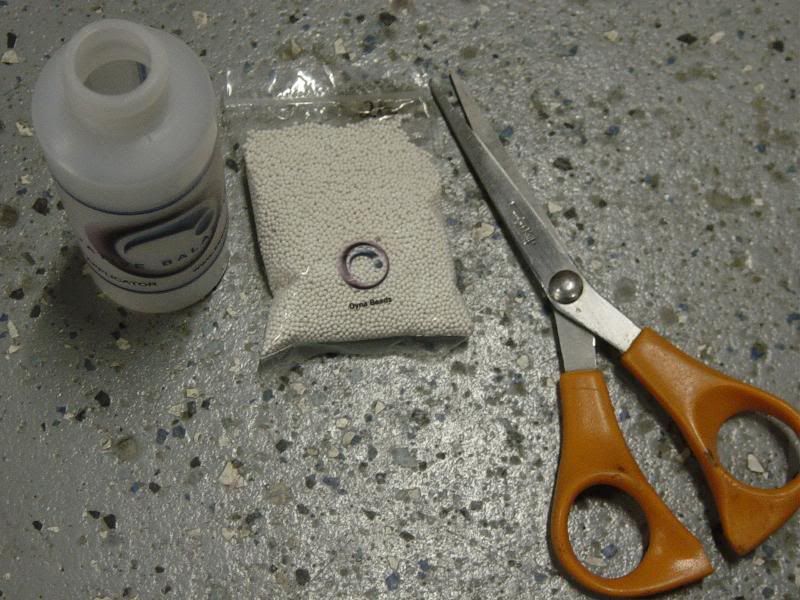 Cut the top off the applicator for easier pouring 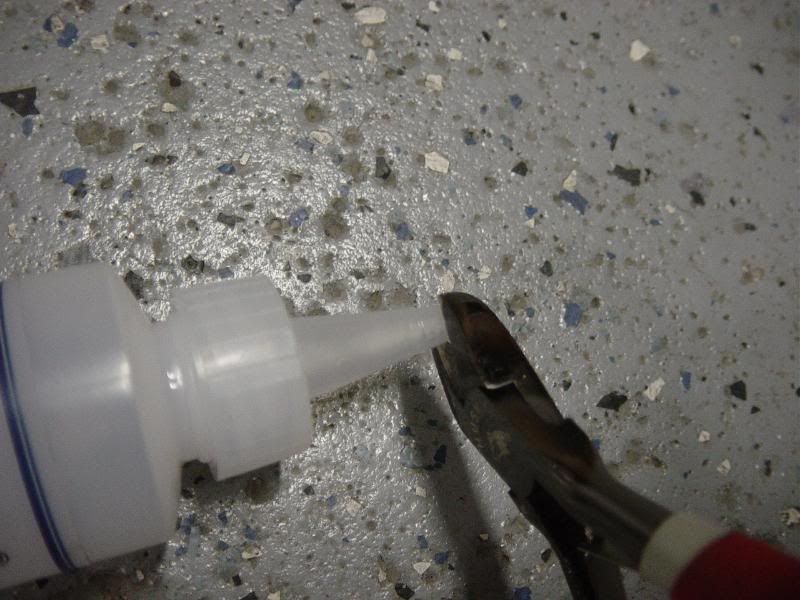 Grab your bag of beads 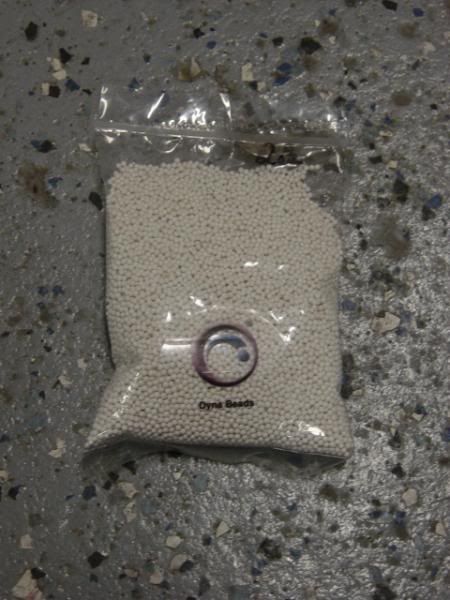 Cut open the corner of the baggy to dispense into applicator bottle. 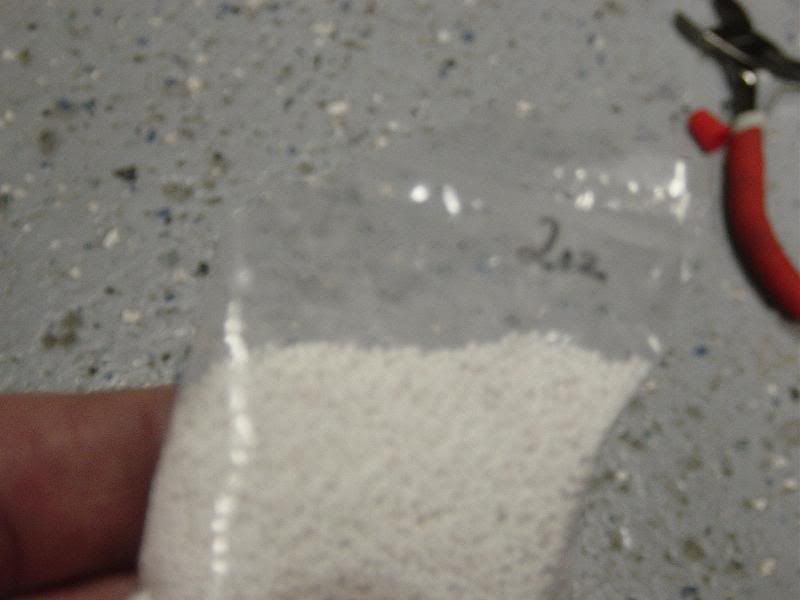 Pour into the bottle 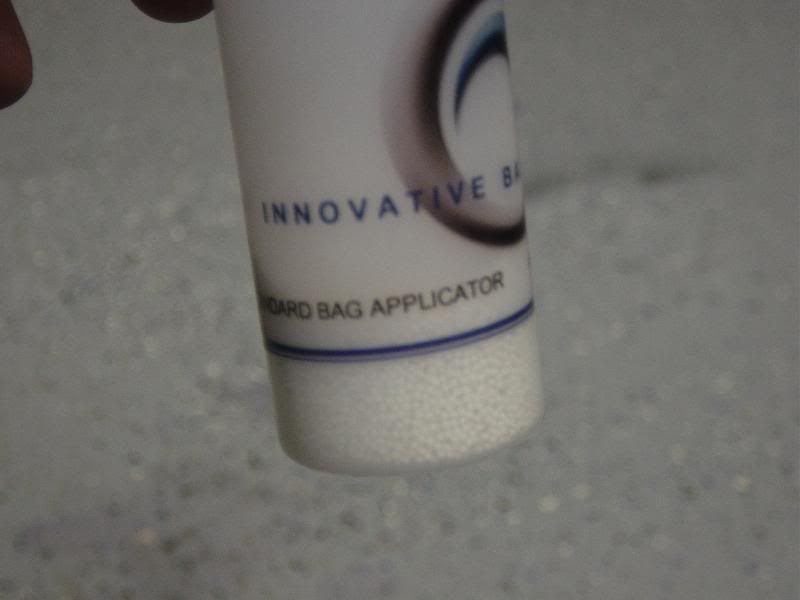 Simply put that stuff aside and time to direct attention to the bike itself. So I jacked up the sporty like so... 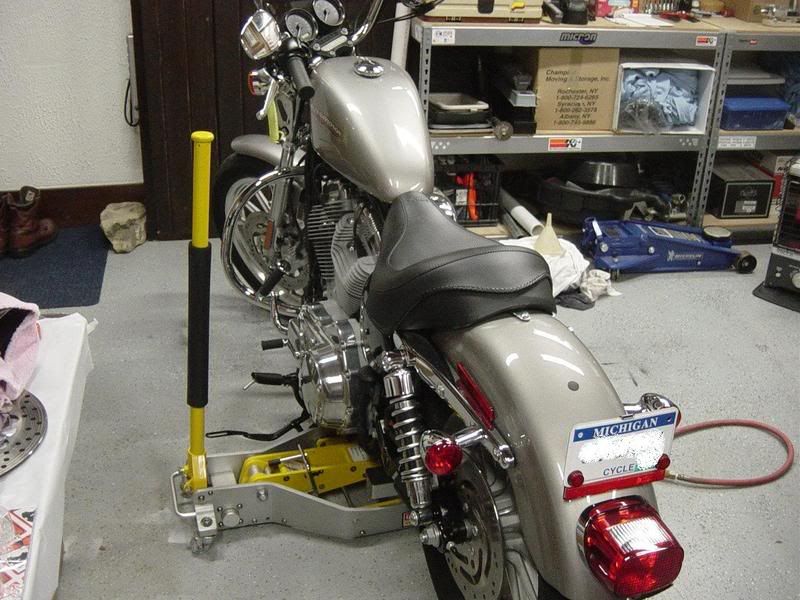  Remove your valve stem cap 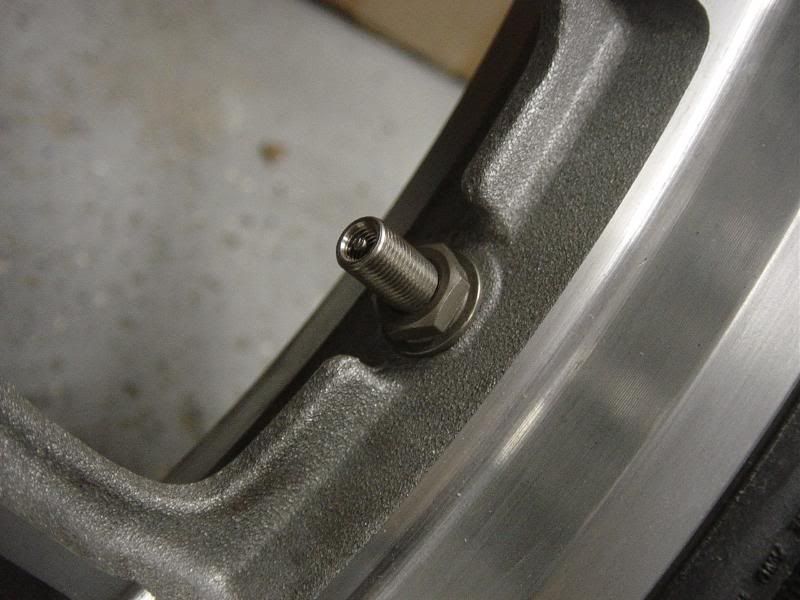 Get your valve stem tool 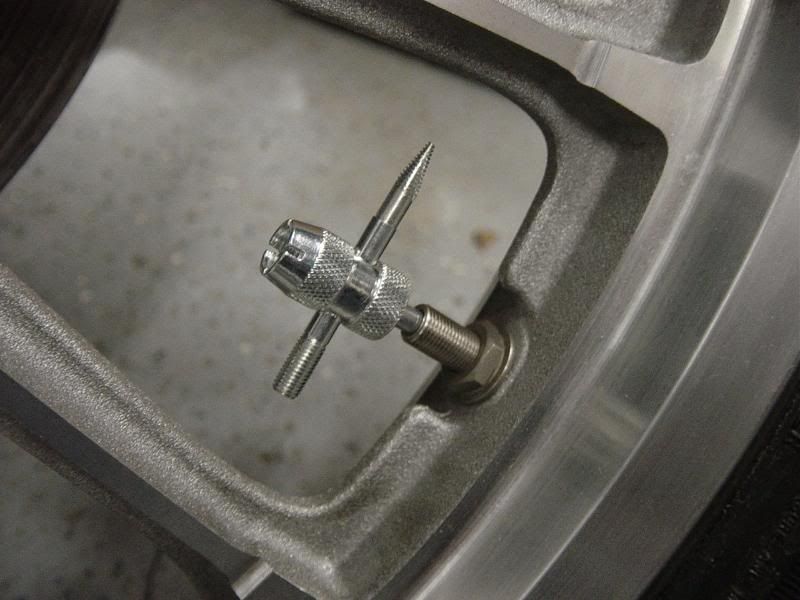 Spin out the valve stem slowly allowing the air to leak. At this point you can either let it all leak out or pull it out carefully. Be sure not to go to fast and put your hand over it, while keeping pressure down on the tool and stem. You are trying to keep the valve from flying accross the garage. Out comes the valve 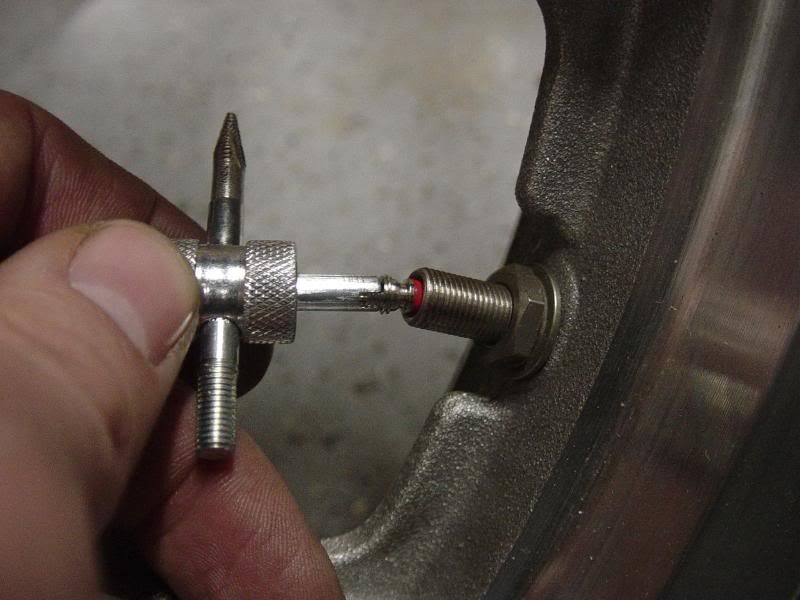 Set this aside 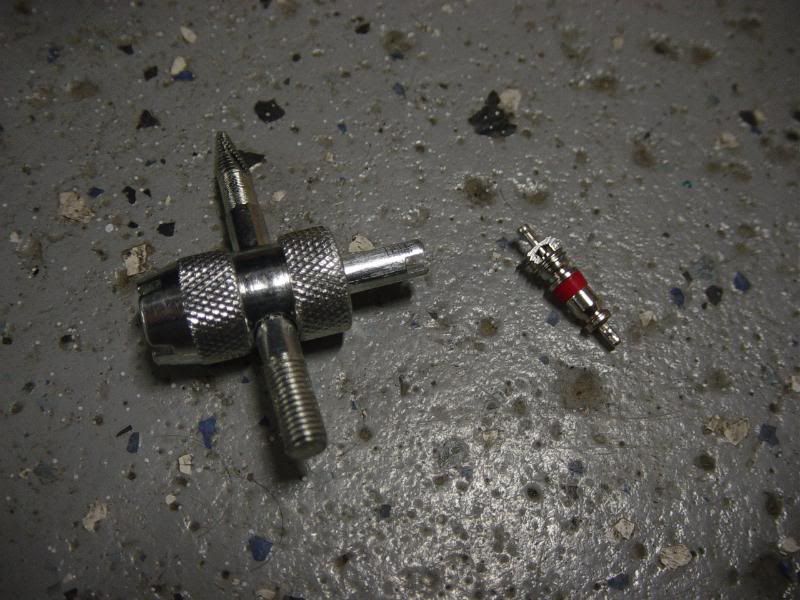 Hook up the tube to the valve stem  Start to pour in the beads slowly. If they start to back up and won't flow into the rim like this read the next direction. If not skip over the next part for difficult bikes. 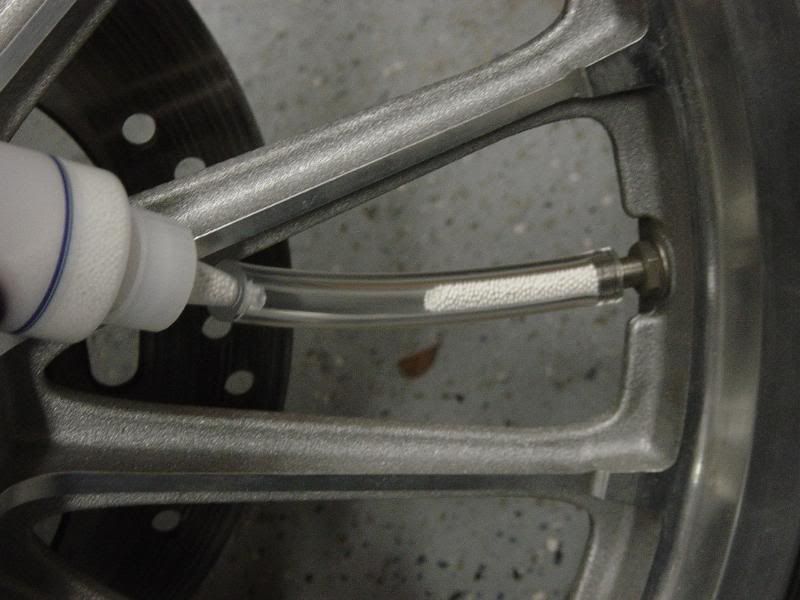 In some cases your beads may not flow in easily. My Big Dog was no problem the Harley was so I got to thinking outside the box sense I didn't have an engraver to aid me.Now once you have all your beads in, remove the tube. If you had to do the difficulty step, tighten the nut. |
|
|
|

|
| Bookmarks |
| Thread Tools | |
| Display Modes | |
|
|